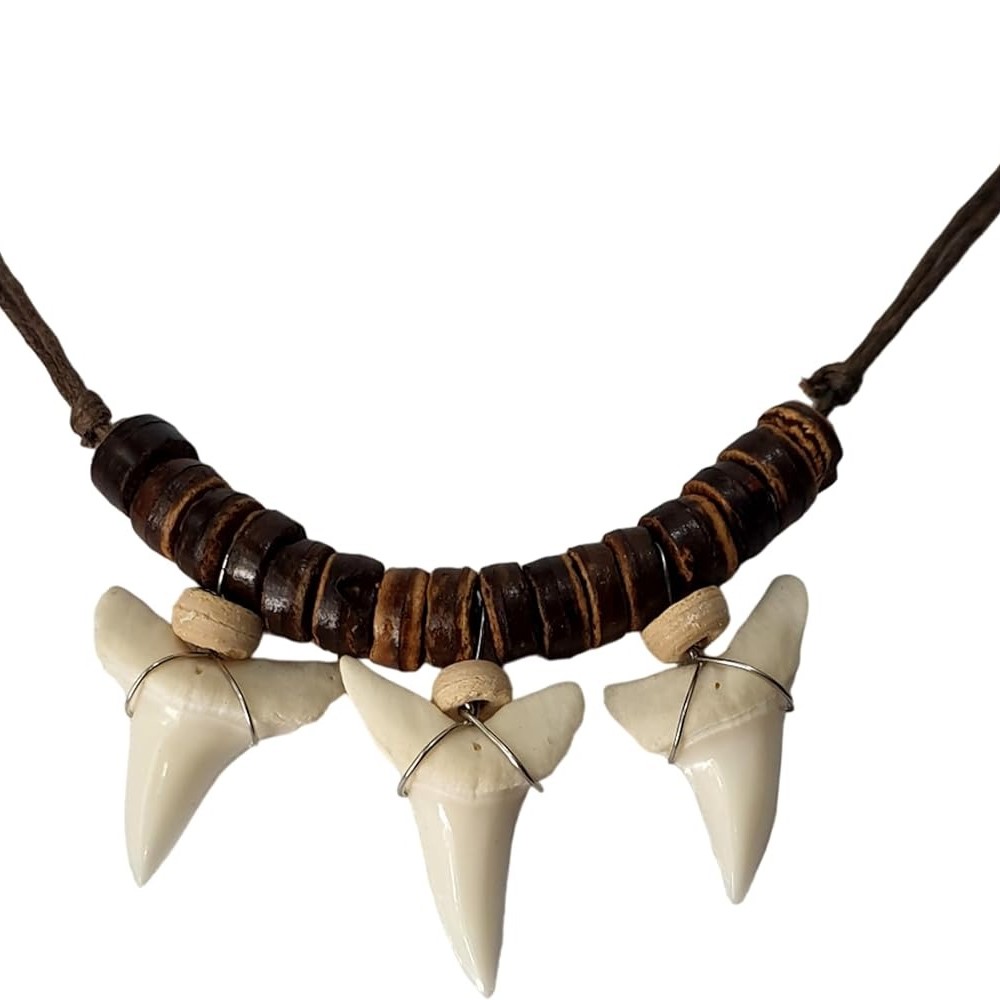
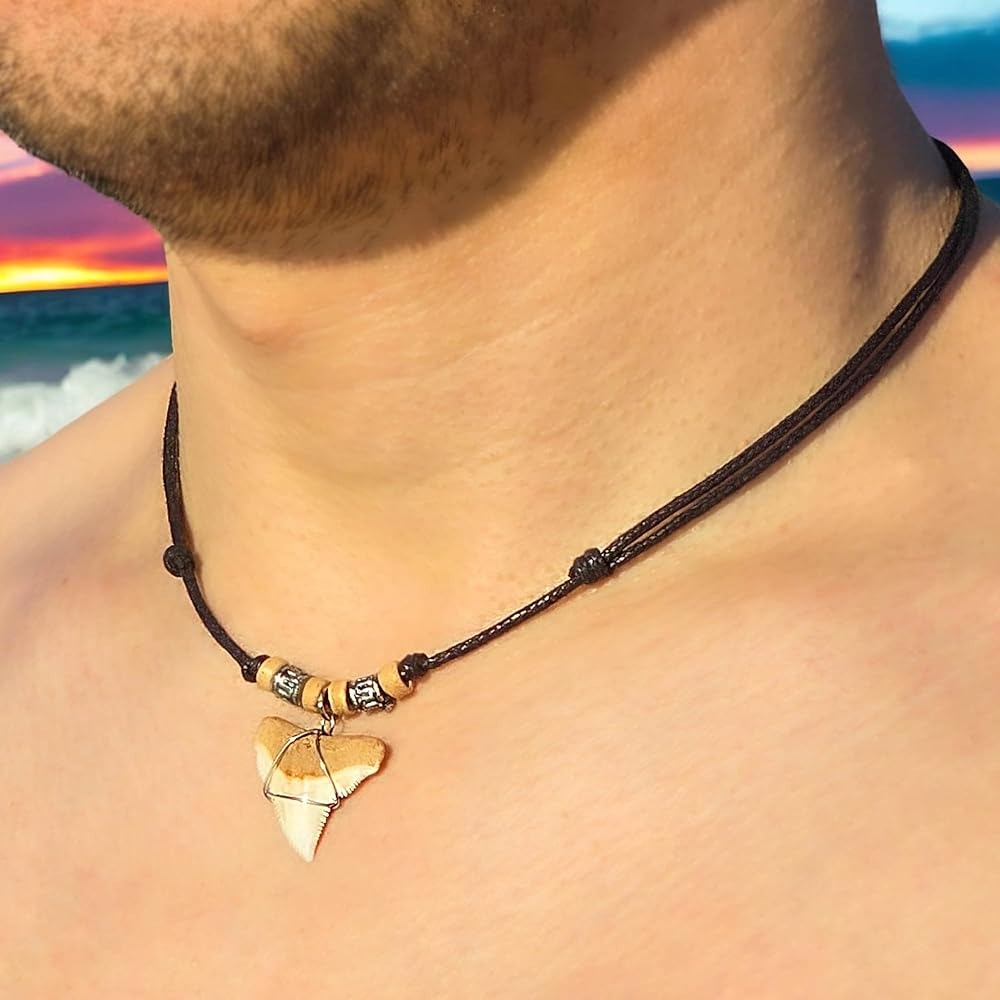
Creating a shark tooth necklace is not just a craft project; it’s a way to embrace the ocean’s wonders and carry a piece of marine history with you. This unique accessory can reflect your love for the sea, act as a conversation starter, or even serve as a memento from an unforgettable beach trip. Below, we will delve into the process of how to make a shark tooth necklace, breaking it down into easy-to-follow steps, essential materials, and creative ideas for personalization.
Introduction to Shark Tooth Necklaces
Shark tooth necklaces are unique and striking pieces of jewelry. They carry historical significance and have been used as symbols of strength and protection. In modern times, these necklaces serve as fashionable accessories that can add an edge to any outfit. Making your own shark tooth necklace is not only rewarding but also a fun DIY project.
This guide will show how easy it can be to craft your very own shark tooth necklace. Whether you have a real shark tooth or wish to make one from salt dough, the process is straightforward and enjoyable. By following step-by-step instructions, you’ll learn to wire-wrap a tooth or form, bake, and thread a faux tooth made from salt dough.
Creating a shark tooth necklace can be a great activity for all ages. It’s perfect for Shark Week celebrations, a themed party, or as a personal project to add a touch of the ocean to your style. You don’t need to be an expert in jewelry making to succeed. With the right materials and a bit of patience, your DIY shark tooth necklace will soon be ready to wear and impress.
Stay tuned and find out how to select the right shark tooth, the tools you will need, the wire-wrapping method, and how to make a shark tooth out of dough. Let’s dive in and start crafting your unique piece of jewelry.
Essential Materials for Your DIY Shark Tooth Necklace

To create a stunning shark tooth necklace, you need the right materials. This section covers what you’ll need to gather before starting.
Choosing the Right Shark Tooth
Selecting an appropriate shark tooth is crucial. If you have access to a natural shark tooth, ensure it’s clean and the right size for a pendant. For those who prefer a DIY approach, making a shark tooth from salt dough is a wonderful, kid-friendly alternative. Ensure the shape is triangular and resembles a real shark tooth.
Selecting Your Wire and Tools
For wire-wrapping your shark tooth, choose a flexible yet sturdy wire. An 18-gauge copper or silver wire from any craft store works great. You’ll also need some basic tools:
- Needle-nose pliers: Essential for bending and cutting the wire.
- Wire cutters: To trim the wire to the desired length.
Make sure you have these items ready before you start crafting your shark tooth necklace. This preparation will help make the process smoother and more enjoyable.
Step-by-Step Instructions for Wire-Wrapped Shark Tooth Necklace
Crafting a shark tooth necklace involves precision and creativity. Here, we’ll guide you through the process of wire-wrapping your shark tooth into a beautiful pendant. Whether you’re using a real tooth or a crafted one, the method remains the same, ensuring your necklace is both attractive and secure.
Preparing Your Tooth and Wire
First, gather your materials. You will need:
- A clean shark tooth or a similarly shaped object
- A length of 18-gauge copper or silver wire
- Wire cutters
- Needle-nose pliers
Begin by measuring and cutting about 24 inches of wire. This should be sufficient to wrap around the tooth several times and create a loop for hanging.
Next, clean your shark tooth if it’s real, or ensure your crafted shape is smooth and ready for wrapping.
The Wire Wrapping Process
- Lay the wire along the length of the shark tooth, approximately in the middle.
- Firmly wrap the wire over the top point of the tooth, bringing it down to one side.
- Continue wrapping the wire by crossing over to the opposite side each time, ensuring tight and even loops around the tooth.
- After making a few rounds, twist the excess wire at the top to create a loop. This loop will be used to hang the pendant.
- Adjust the wraps using your pliers to tighten any loose ends.
Finishing Touches for Your Pendant
Finally, it’s time to finish your pendant with some securing and aesthetic touches:
- Use the pliers to twist and secure the wire loop at the top.
- Trim any extra wire with the cutters, ensuring there are no sharp ends.
- Optionally, you can wrap some colored threads or thin ribbons around the wire for a decorative touch.
- Attach a chain or a leather cord through the loop, and your shark tooth necklace is ready to wear.
This wire-wrapped shark tooth necklace not only adds a unique element to your jewelry collection but also makes for a heartfelt handmade gift.
Making a Shark Tooth Necklace with Salt Dough

Creating a shark tooth necklace from salt dough is a fun, crafty activity. It’s especially great if you’re looking for a kid-friendly project. Here’s how you can do it easily at home, no beach trip required!
Mixing and Shaping Your Salt Dough Tooth
Start by gathering your materials. You will need:
- 1/2 cup of flour
- 1/4 cup of salt
- 1/4 cup of water
Mix the flour, salt, and water in a bowl until you have a doughy consistency. If the mixture is too sticky, add more flour. If it’s too dry, add a bit more water. Once you have your dough, take a piece and shape it into a triangular shark tooth. Make the base a bit wider and the top pointed. Use a pencil to gently poke a hole at the top. This hole is where you will thread your string or yarn later, so make sure it’s not too close to the edge.
Baking and Cooling Your Dough Creation
Preheat your oven to 250 degrees Fahrenheit. Place your shaped dough on a baking sheet and bake for 1 hour. After baking, turn off the oven and let the shark tooth cool completely inside the oven. This slow cooling will help prevent cracks. Once cool, your salt dough shark tooth is ready for the final steps of making your necklace.
This DIY shark tooth necklace made from salt dough is not just a craft; it’s a fantastic way to engage with children about marine life and the importance of sharks in our ecosystem. Plus, it’s a wearable piece of art!
Tips for Threading Your Necklace
Threading your necklace properly is key to ensuring that your shark tooth pendant is secure and stylish.
Creating a Secure Hole
Creating a secure hole in your shark tooth is crucial. If you’re using a salt dough tooth, make the hole during the shaping process. Use a pencil or a small dowel to create a clean, smooth hole. Ensure the hole is not too close to the edge to avoid any potential breakage. For real shark teeth, you may need a small drill. Always go slow and steady to prevent cracking the tooth.
Selecting the Right Yarn or String
Choosing the right yarn or string is vital for the comfort and durability of your necklace. Opt for a strong, durable yarn or a waxed cotton string for a lasting finish. Consider the color and texture, which should complement the rustic look of your shark tooth. For a more natural appearance, hemp twine is an excellent choice. Always double-check the thickness of your string or yarn to ensure it will fit through the hole of your pendant smoothly.
Creative Variations and Personal Touches

Adding your personal touch can make your shark tooth necklace unique. Experiment with decorations and styles to showcase your creativity.
Decorating Your Shark Tooth Pendant
Decorating your shark tooth pendant is a great way to personalize this piece of jewelry. You can use various materials to embellish your pendant:
- Beads: Attach small beads around the wire wrapping for a colorful effect.
- Paint: Use a small brush to apply paint on the tooth or the wire for a customized look.
- Engraving: If the tooth’s surface is large enough, consider having it professionally engraved.
- Glitter: Apply a thin layer of craft glue and sprinkle some glitter for a sparkling effect.
These decorations not only enhance the look but also make your necklace a reflection of your style.
Choosing a Chain or Twine Style
The type of chain or twine you select for your necklace can transform its overall look:
- Leather cord: Perfect for a rustic, natural feel.
- Silver or gold chain: Offers a sophisticated touch, suitable for dressier occasions.
- Hemp twine: Best for casual, everyday wear and eco-friendly preferences.
- Ribbon: Soft and colorful, providing a gentle and feminine appearance.
Pick a material that complements the appearance of your shark tooth and suits the occasion you plan to wear it for. Various lengths and thicknesses can also alter the necklace’s impact, so consider trying different combinations until you find your preferred style.
Conclusion: Showcasing Your Handcrafted Accessory
You’ve now crafted your very own shark tooth necklace. Whether you chose the wire-wrapped method or the salt dough creation, you own a unique piece of jewelry. It’s time to show off your handiwork.
Wear your shark tooth necklace with pride. Pair it with your favorite outfits. It can complement casual wear or add an intriguing touch to formal attire. Show it to friends and family. Explain how you made it. They’ll be impressed by your creativity and skill.
Remember to store your handmade necklace properly. Keep it in a jewelry box to avoid tangling or damage. Clean it gently with a soft cloth if needed. With proper care, your shark tooth accessory will last for years to come.
Lastly, consider making more necklaces to give as gifts. Your personalized touch will make the presents special. Plus, sharing your new craft can spread the joy of DIY projects with others.
Enjoy the accomplishment of completing this project. Look forward to crafting more unique pieces in the future.

