Introduction to Shark Tooth Necklaces
Shark tooth necklaces are a timeless piece of jewelry. They hold a fascination for many due to their rugged beauty and the sense of adventure they invoke. Whether you found a shark tooth while strolling on the beach or you’re a collector seeking to create something unique, making your own shark tooth necklace can be a rewarding project.
Not only do these necklaces serve as a stylish accessory, they can also represent personal milestones or act as a talisman for some. Throughout history, shark teeth have been associated with strength and protection. Today, they continue to embody a connection with nature’s wild essence.
If you’re ready to embark on the journey of crafting your own shark tooth necklace, this blog post will guide you through each step. From choosing the right tooth to adding the final touches, we’ll cover the key stages in creating your unique accessory. As we proceed, bear in mind that creating a shark tooth necklace is not just about the physical product, but the experience and story it represents.
As you follow along with the guide on how to make a shark tooth necklace, you’ll learn not only the practical skills involved but also the creative decisions shaping the personal flair of your necklace. Let’s dive into the process of making a necklace that’s as unique as you are!
Selecting the Perfect Shark Tooth
Selecting the right shark tooth is crucial for your necklace. Consider the size, shape, and color you favor. Each tooth tells a different story and suits varying styles. Ensure it fits the envisioned design of your accessory. Look for intact edges and a clean surface for better aesthetics. Visiting beaches after high tide can yield promising finds. Diving in shark-frequented waters or browsing through collector’s markets are also viable options. Verify the authenticity and legal acquisition of the tooth to make your necklace ethical and genuine. Once you find the perfect shark tooth, the real creativity begins.
Materials Needed for a DIY Shark Tooth Necklace

Gathering the right materials is a key step in learning how to make a shark tooth necklace. You will need a few basic supplies to start your project. Here’s what to gather:
- Shark Tooth: This is the centerpiece of your necklace. Pick the one you selected earlier.
- Wire or Cord: Choose a strong and durable material to hold the tooth. Wire wraps well; cord offers a natural look.
- Pliers: Essential if you choose to use wire. They help bend and twist the wire securely.
- Cord Ends: If using a cord, these will neatly finish the ends.
- Jump Rings: Small metal rings that connect different parts of the necklace together.
- Clasp: A fastener for the necklace. Pick one that suits your design and is easy to use.
- Beads or Charms: Optional. Add these if you want extra decoration on your necklace.
- Scissors or Cutters: For cutting wire or cord to the correct length. Make sure they’re sharp.
- Glue: Some designs may need strong glue to fix the tooth to a base or bail.
- Protective Coating: Apply to your shark tooth for preservation if desired.
With these items ready, ensure you have a clear workspace. Good lighting helps too. Double-check the condition and quality of each item. Using reliable materials ensures your necklace will last. Once you have all your materials, move on to the next step: preparing your shark tooth for mounting.
Preparing the Shark Tooth for Mounting
Before mounting the shark tooth onto your necklace, proper preparation is key. Here’s how to prepare your shark tooth for a lasting, sturdy mount.
- Clean the Tooth: Start by cleaning the shark tooth thoroughly. Use a soft brush and gentle soap to remove any dirt or debris. Rinse it with water and let it dry completely.
- Inspect for Damage: Check the tooth for any cracks or weak spots. These could affect the durability of the necklace. If you find any damage, consider choosing a different tooth.
- Choose a Mounting Method: Decide whether you will be using wire wrapping, or if you’ll attach the tooth using a cord with glue. Each technique has its own set of steps.
- Prepare Your Mounting Supplies: If you’re using wire, cut an appropriate length with your cutters. For cord, ensure it’s long enough to create a secure knot. Have pliers or scissors handy for adjustments.
- Drill a Hole (Optional): If you plan to thread the tooth directly onto the necklace, carefully drill a small hole through the top of the tooth. Make sure to wear safety goggles and to work slowly to avoid breakage.
- Apply a Protective Coating (Optional): To preserve the tooth, apply a clear protective coating. Allow it to dry before proceeding to the next step.
Once you’ve taken the time to prepare your shark tooth properly, you’re all set to attach it to your necklace with confidence. In the next section, we’ll explore different methods for securing the tooth in place to ensure your necklace is both stylish and well-crafted.
Methods for Attaching the Shark Tooth

After you have prepared your shark tooth, it’s time to secure it to your necklace. You can use several methods depending on the look and feel you want for your jewelry. Each method has its pros and cons, and the choice ultimately depends on your preference and the style of the shark tooth necklace you are aiming for.
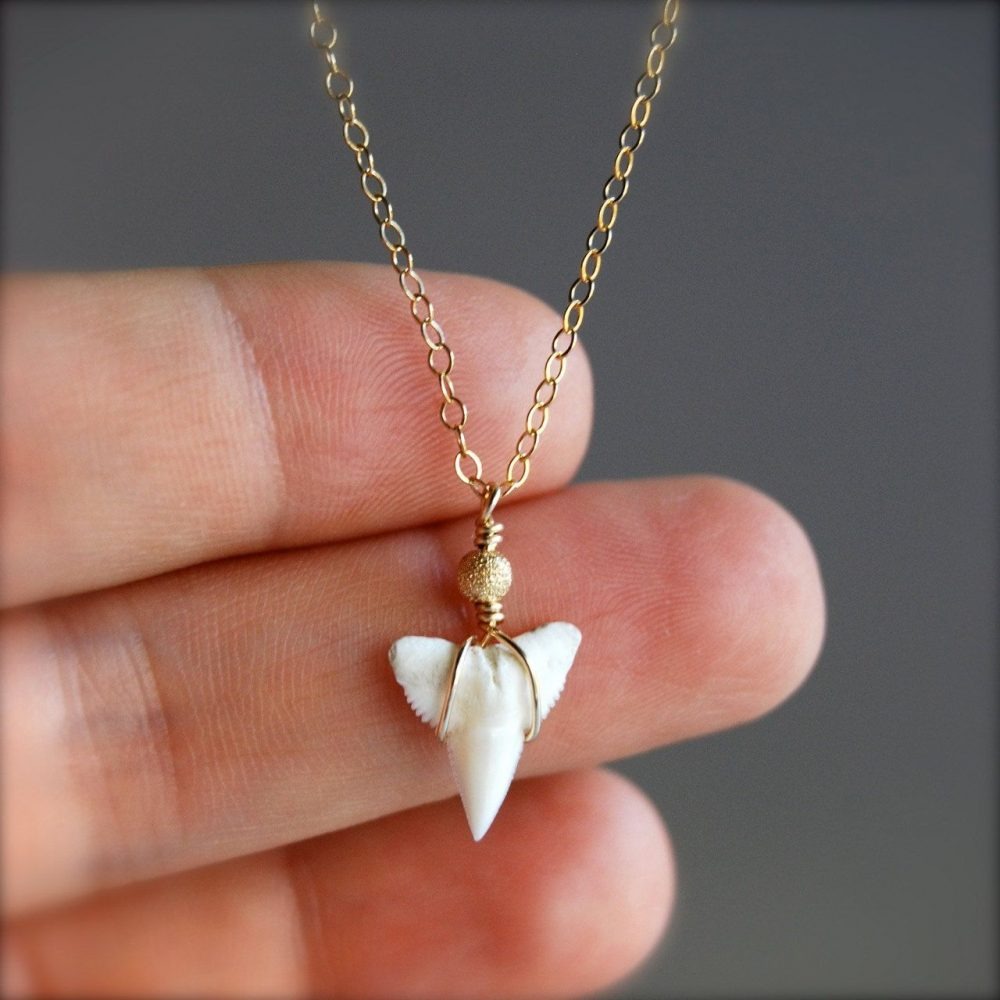
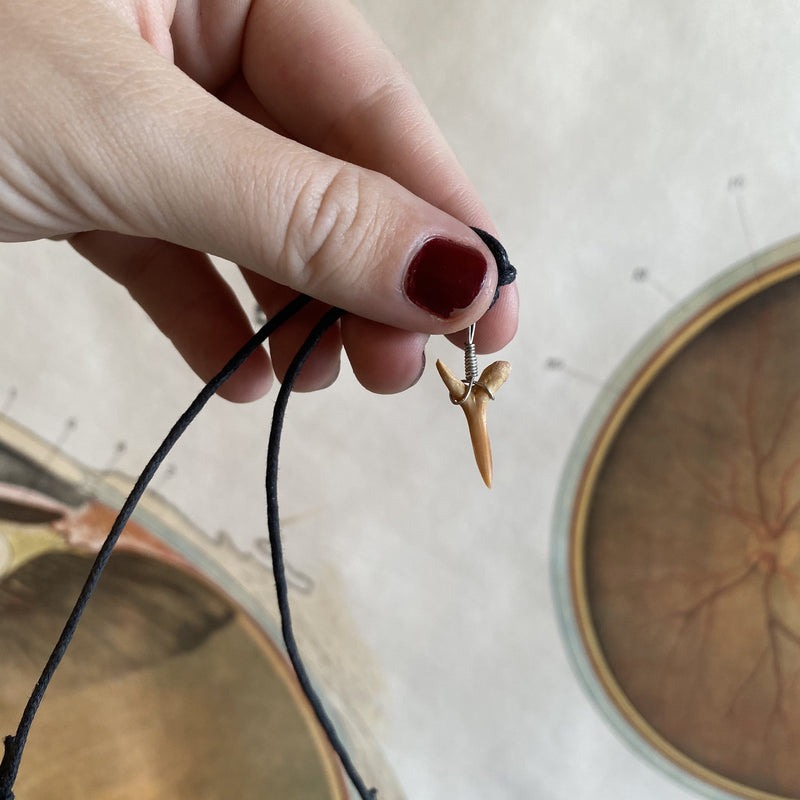
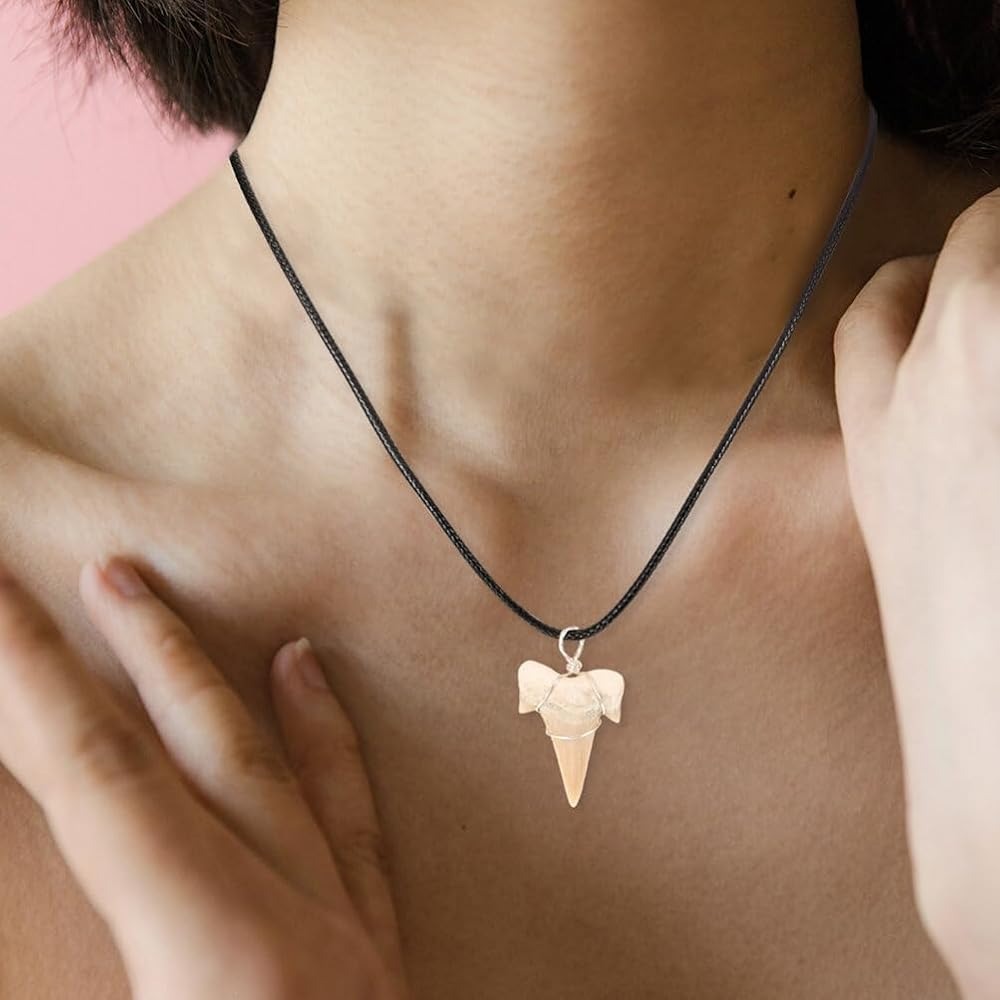
- Wire Wrapping: Wire wrapping is a popular choice for its durability. Cut a piece of wire long enough to wrap around the tooth and form a loop. Twist the ends with pliers to secure it. This method holds the tooth firmly and allows for creative designs.
- Gluing: If you opt for a cord, you can use strong glue to attach the tooth to the cord. Apply a small amount of glue to the tooth and press it onto a base or directly to the cord. Make sure the glue dries completely before wearing the necklace.
- Drilling: Drilling a hole through the top of the shark tooth is another option. Thread the cord or a jump ring through the hole to attach it to your necklace chain. Be careful not to crack the tooth while drilling.
- Knotted Cord: You can tie the tooth directly onto the cord if the tooth has natural holes or ridges. Loop the cord, thread it through the opening, and knot it securely.
- Bails: Use a metal bail for an elegant finish. Glue the tooth to the bail, and then attach it to your chain with a jump ring. This method is best for polished looks.
Choose one of these methods to attach your shark tooth to the necklace chain. Make sure your attachment is secure, so your necklace stands the test of time. In the next part, we’ll discuss how to design the necklace chain to complement your shark tooth pendant.
Designing the Necklace Chain
Designing the chain is where your necklace begins to take shape. Consider these steps:
- Select Material: Choose a chain material that complements your shark tooth. Options include silver, gold, leather, or braided cord.
- Chain Length: Decide on the length of your necklace. It should sit comfortably and match your stylistic preference. Typically, lengths vary between 18 to 24 inches.
- Style: Do you prefer a simple, elegant chain or a more rustic look? Your style will influence the choice of material and the design of the chain.
- Strength: Ensure the chain is strong enough to hold the tooth securely, especially if it’s a larger shark tooth.
- Adding Beads: If you want to add beads or charms, thread them onto the chain or cord to personalize your necklace.
- Test it Out: Before attaching the tooth, lay the chain around your neck to check the fit and length. Make adjustments if needed.
Following these guidelines, you can craft a necklace chain that not only looks good but also feels right when worn. Once satisfied with the design, move on to the next step where you’ll add clasps and any decorative elements to complete your shark tooth necklace.
Finishing Touches: Clasps and Decorative Elements
Once you have your shark tooth securely attached and your chain designed, it’s time to add the finishing touches. These final details will enhance the overall appearance of your necklace and ensure it is comfortable to wear.
- Choosing the Right Clasp: Pick a clasp that complements the style of your necklace. Lobster clasps and toggle clasps are popular and easy to use. Make sure the clasp is easy to open and close, but also secure enough to keep your necklace in place.
- Attaching the Clasp: Use jump rings to attach the clasp to the ends of your chain. Open the jump ring with pliers, slip it through both the chain and clasp, and then close it tightly.
- Adding Beads and Charms: If you wish, add beads or charms for extra flair. Thread them onto the chain or attach them with small jump rings. Consider the placement and how they balance with the shark tooth.
- Final Adjustments: Once everything is in place, give your necklace a final look. Make any needed adjustments to the bead placement or chain length. Confirm that the clasp works well and that the necklace lays correctly when worn.
With these steps completed, you have now finished crafting your own shark tooth necklace! Wear it with pride, knowing the care and creativity you’ve invested into every step of its creation.
Maintenance and Care for Your Shark Tooth Necklace

Your unique shark tooth necklace requires care to keep it looking its best. Here’s how to maintain its charm and durability.
- Handle with Care: Always handle your necklace gently. Avoid yanking or pulling it.
- Cleaning: Clean with a soft, damp cloth. Do not use harsh chemicals or detergents.
- Storage: Store your necklace in a soft pouch or jewelry box. Keep it away from direct sunlight.
- Avoid Water: Remove your necklace before swimming or showering to prevent damage.
- Check Regularly: Examine your necklace often for any signs of wear or damage. Repair if necessary.
- Wearing: Put on your necklace after applying makeup and perfume to avoid buildup.
By following these steps, you can enjoy your handcrafted shark tooth necklace for years. It symbolizes not just a fashion statement, but the care and creativity you invested in it.

