Assessing the Damage and Gathering Tools
Before diving into how to fix a chain necklace, it’s important to identify the common problems that jewelry enthusiasts face. When faced with a broken chain necklace, the first key step is assessing the damage. Look closely to understand if it’s a complete break or a simple loosened link. This step is crucial since the type of damage dictates the repair method. For example, a full break might need soldering or wire wrapping, while a loose link might only need tightening with pliers.
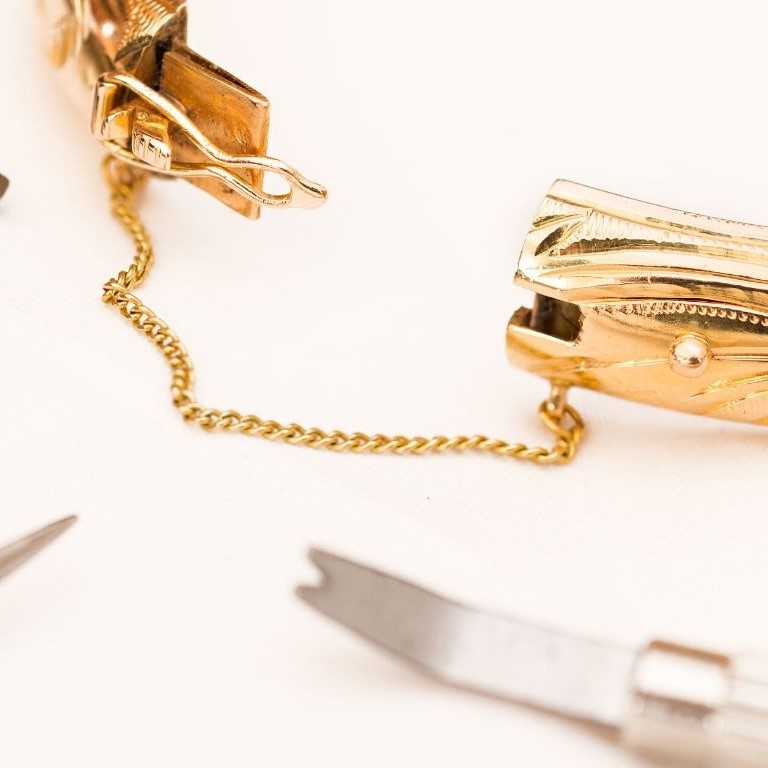
After examining the damage, the next step involves collecting the right tools for the job. If you’re considering soldering, you’ll need items such as a soldering iron or torch, solder, and maybe a third hand tool to hold the necklace in place. For wire wrapping, have pliers, wire cutters, and suitable wire at hand. Glue repairs require strong jewelry adhesive and precision tools for application. Lastly, if you’re looking to fix a clasp, gather the replacement clasp, needle-nose pliers, and maybe a jump ring or two.
It’s always helpful to have a well-lit workspace and possibly a magnifying glass to see small details. Remember, the right tools and a good assessment make the repair process smoother and more likely to succeed. Choose your method based on the damage and ensure you have the needed items before you begin fixing your treasured chain necklace.
Detailed Guide to Soldering a Broken Necklace Chain

Soldering can be a reliable fix chain necklaces. Follow these steps to solder your chain carefully. First, examine the break and prepare the ends. Use fine sandpaper to clean the joint. This ensures the solder will bond correctly. Gather your soldering tools, such as a torch, solder, and flux.
Step 1: Secure the Chain
Use a third hand tool or tweezers to hold your chain steady. Make sure the broken ends meet without gaps.
Step 2: Apply Flux
Flux helps the solder flow. Brush a small amount on the joint with a paintbrush.
Step 3: Cut the Solder
With tin snips, cut a tiny piece of solder. For thin chains, even smaller amounts are enough.
Step 4: Heat the Joint
Light the torch and heat the area around the break. Aim the flame’s tip at the joint.
Step 5: Place the Solder
With tweezers, set the solder on the joint. Ensure it touches both sides of the break.
Step 6: Complete the Solder
Heat until the solder melts and flows, joining the chain links. Keep the flame moving to avoid overheating.
Step 7: Cool and Clean the Chain
After soldering, quench the chain in water. Then clean it in a pickle solution to remove impurities.
Step 8: Finish Up
Polish the repaired area with fine sandpaper for a smooth finish. For shine, use a polishing cloth.
Soldering requires focus and a steady hand. Practice on scrap pieces before repairing your necklace. If your chain has fine links or you feel unsure, a professional jeweller is the best option. They have the skills to fix delicate jewelry safely. Remember, patience and precision are key to a successful solder job.
Wire Wrapping Techniques for Chain Repair
Wire wrapping is a skillful method to repair chain necklaces. It involves using wire to reinforce and connect broken links. Here’s a simple guide on how to fix a chain necklace using wire wrapping techniques.
Gather Your Materials
Start by collecting the necessary tools. You will need wire cutters, round-nose pliers, and soft wire that matches your chain. Ensure that the wire is flexible yet sturdy enough to hold the links together.
Measure and Cut the Wire
Measure a length of wire that is about three times the gap in the chain. Cut the wire with your cutters. This extra length allows for wrapping and ensures a strong repair.
Thread the Wire
Thread one end of the wire through the broken link. Leave a small tail and start wrapping the longer end around both parts of the link. Make the wraps tight and close together.
Secure the Repair
After wrapping, use the pliers to tuck in the wire ends. This prevents them from snagging on clothing. If necessary, make a few final adjustments to ensure the link sits evenly.
Test the Strength
Gently pull on the repaired link to test its strength. If it holds firm, the repair is successful. If not, consider wrapping it with more wire or seeking professional help.
By following these procedures, you should be well on your way to mastering how to fix a chain necklace.
Wire wrapping can be a quick fix for a snapped chain necklace. However, if you find the task difficult or the result is not satisfactory, take the necklace to a professional. They have the expertise to restore your jewelry to its former glory.
The Role of Glue in Jewelry Repair and When to Use It

Glue plays a limited role in jewelry repair due to its lower strength. It suits minor repairs where strength isn’t critical. For example, it can reattach decorative elements that aren’t load-bearing.
When to Use Glue
Use glue for quick fixes or non-essential parts of a necklace. Apply it when other repair methods are not suitable. It is vital to use specialty jewelry glue for better results.
Before applying glue, both surfaces must be clean and dry. You can use a small brush or a toothpick to apply the glue precisely. After applying, hold the pieces together firmly until the glue sets. Depending on the glue type, curing can take a few hours.
Use glue in a well-ventilated area to avoid inhaling fumes. Also, ensure the repaired area does not bear any load or force. If the repair is critical, such as in load-bearing areas, consider stronger repair methods or professional help.
Clasp Replacement: Identifying the Need and Execution
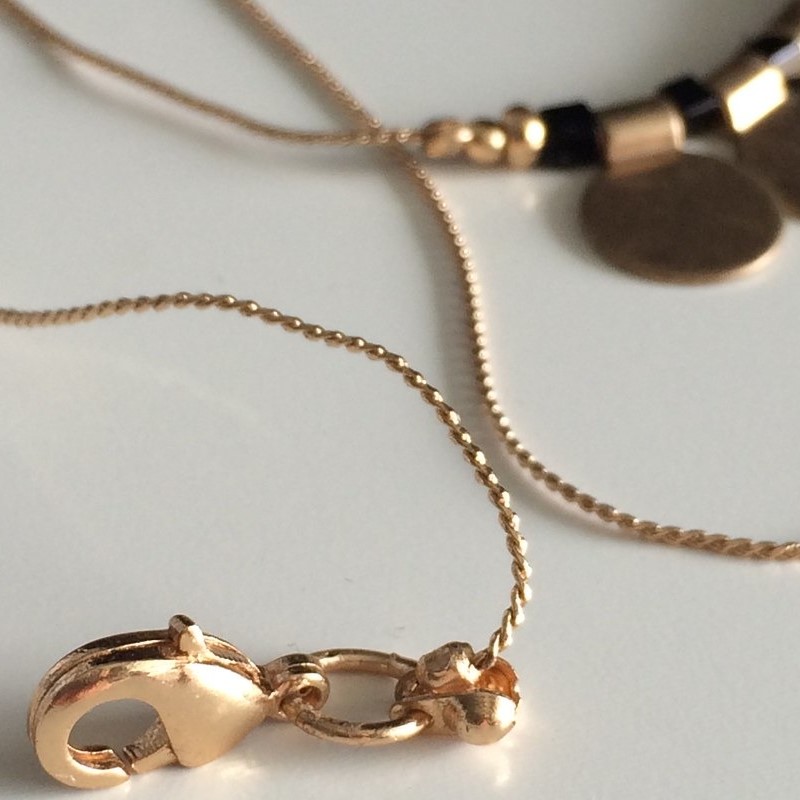
Replacing a worn or broken clasp can give a necklace new life. Assess if the clasp is the issue. Is it bent or does it not close? If yes, a new clasp is needed. Gather tools like pliers and a new clasp. Clasps come in various styles. Pick one that matches your necklace. Need some steps? Here they are:
Step 1: Remove Old Clasp
Use pliers to open the jump ring. Take off the broken clasp. Handle the chain carefully.
Step 2: Attach New Clasp
Open the jump ring on your new clasp. Slide it onto the chain end. Close it with pliers.
Step 3: Secure the Repair
Make sure the jump ring is closed tightly. This prevents the clasp from falling off.
Step 4: Test the Clasp
Try opening and closing the new clasp. Ensure it functions smoothly.
A functional clasp is key in a necklace. It keeps the jewelry secure and wearable. If too difficult, a jeweler can help. They fix clasps with precision. Remember, a broken clasp does not mean the end of your favorite necklace. With the right approach, you can extend its life and continue to enjoy it.
Preventive Measures to Avoid Future Chain Breakages
To prevent chain breakages, adopt these practical tips. First, opt for sturdy chains. They resist wear better than delicate ones. Next, avoid exposing your necklace to harsh chemicals, which can weaken the metal. Regular inspections help catch early signs of wear or damage. Keep your necklace clean. Dirt can increase friction and cause links to wear out faster. Store necklaces flat and separate from other jewelry to avoid tangling. Handle clasps gently. Forceful tugging can cause clasps to weaken or break. For thick or heavy pendants, use a robust chain to support the weight adequately. Learn basic maintenance skills, such as clasp tightening and link checking. This helps extend your necklace’s life. Apply these measures to enjoy durable and long-lasting necklaces.
Jewelry Care Tips: Maintenance and Storage
To keep your chain necklace in top condition, consider these care tips and storage ideas. Proper maintenance and storage extend a necklace’s life. They prevent damage and the need for frequent repairs.
Regular Cleaning
Clean your necklace regularly. Use a soft cloth to remove oils and dirt. Mild soap and water work well for most metals. Dry thoroughly before storing.
Proper Storage
Store your necklace in a dry place. Moisture can lead to tarnish and corrosion. Use a jewelry box with separate compartments or individual pouches. This reduces scratches and tangling.
Avoid Chemicals
Keep your necklace away from chemicals. Perfumes, lotions, and cleaning agents can harm it. Put your jewelry on after applying these products.
Monitor for Wear and Tear
Inspect your necklace often. Look for signs of wear, like thinning links or a weak clasp. Early detection means easier, less costly repairs.
Gentle Handling
Be gentle with clasps and chains. Don’t pull or tug hard. This can lead to breaks or deformities.
Use Silica Packets
Consider using silica packets. They absorb moisture and protect against tarnish. Place them in your jewelry box.
Travel Considerations
Use a travel case for your necklace when on the go. This keeps it safe and secure. Packing necklaces separately avoids knots and damage.
Rotation
Rotate wearing different necklaces. Constant wear can lead to quicker deterioration. Giving each piece a rest reduces this risk.
By following these jewelry care tips, your necklace will look great for years. Store it correctly and handle it with care. Regular cleaning and inspections will help spot issues before they need major repairs. Remember, take special care of your jewelry, and it will keep shining bright.
When to Seek Professional Jewelry Repair Services

Sometimes, a DIY approach may not be enough to fix a chain necklace. Here are some scenarios when it is best to seek professional jewelry repair services:
Extensive Damage
If the damage is complex or extensive, a professional should handle it. They have the right tools and expertise.
Valuable or Sentimental Pieces
For expensive or sentimental pieces, professional repair ensures safety and quality. Avoid DIY methods that might lead to further damage.
Lack of Proper Tools
If you lack the required tools or skills, better let a pro handle the repair. They are equipped and trained for such tasks.
When Precision is Critical
Some chain repairs need precise handling that only professionals can provide. This is especially true for fine or intricate chains.
If the Necklace has Gemstones
By understanding these aspects of how to fix a chain necklace, you’re now equipped with the knowledge and confidence to handle repairs effectively.
Heat from DIY methods like soldering could damage gemstones. Professionals know how to protect these precious elements during repair.
Choosing to use a professional repair service can save your necklace from irreparable damage. They also ensure the restored piece retains its aesthetic and structural integrity. While it might cost more than a DIY fix, the assurance of a correctly done repair is often worth the expense.

