Creating a necklace with a stone can be a rewarding and creative endeavor. If you’ve ever wondered how to make a necklace with a stone, you’ll find that the process can be both enjoyable and fulfilling. Below, we’ll go through the steps needed to transform a simple stone into a beautiful accessory that showcases your artistic flair.
Essential Supplies and Tools Needed
To start making your own stone necklace, collect some key supplies and tools. You’ll need tumbled stones, necklace components like a bell cap and bail, and a strong epoxy. You should also grab a small piece of cardboard and a mixing stick, which come in handy for working with epoxy. Don’t forget sandpaper, soap, water, and optionally, some sand or clay to hold the stone steady while the epoxy sets.
Selecting the Right Tumbled Stones
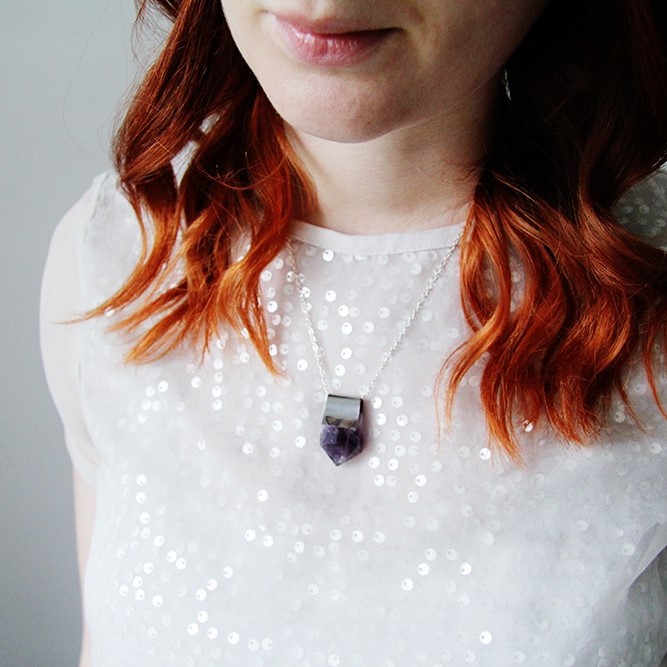
Choosing a stone starts with color; find one that complements your dress. Next, consider shape. Ideally, pick a stone that tapers to a point, fitting well with a bell cap. Medium-sized stones often work best as they are not too heavy and still visible when worn.
Choosing Necklace Components and Epoxy
Necklace parts are critical. Purchase a quality bell cap, bail, and a suitable necklace chain. For epoxy, Epoxy 330 is recommended, but there are alternatives. Ensure the epoxy you choose is suitable for jewelry making and strong enough to hold the stone in place.
Tools for Shaping and Attaching the Stone
You will need a few tools to attach the stone to the necklace. A tool like a burnisher can help to shape the bell cap around the stone. A mixing stick or paperclip is necessary for preparing the epoxy. And don’t overlook the use of sandpaper to roughen the stone’s surface for better glue adhesion. Simple household items like soap and water are sufficient for cleaning the stone and bell cap before gluing.
Finding the Perfect Stone

When you set out to create a custom necklace, the centerpiece is, of course, the stone itself. Spend time picking a stone that not only appeals to you but also complements the outfit you plan to pair it with. The choice of stone dictates the overall aesthetic and personal meaning of your necklace.
Evaluating Color and Shape Compatibility
Choosing the right stone for your necklace involves both an appreciation for beauty and a keen eye for detail. First, align the color of the tumbled stone with the palette of your dress. Whether you’re drawn to vibrant hues or subtle tones, the right color can either contrast or harmonize with your outfit.
Beyond color, the shape of the stone is paramount. You will want to choose a form that naturally suits the bell cap—a conical or tapered shape often works best. This ensures not just aesthetic pleasure but also practical fit.
Visualizing Stone with the Bell Cap
Before you commit to a stone, visualize how it will look with the bell cap. This is an essential step as it lays the groundwork for the forthcoming assembly. If you can, place the stone underneath the bell cap to get a sense of the final look. It doesn’t have to fit perfectly at first, as adjustments can be made. Using simple tools such as a burnisher, you can shape the bell cap to cradle the stone snugly, ensuring that the two will come together in harmony.
Keep in mind that the stone you pick is the star of your handmade piece. You’ll likely wear it with pride, knowing it’s a one-of-a-kind accessory tailored to your taste and style. With the perfect stone in hand, you’re one step closer to completing your distinctive stone necklace.
Preparing the Stone and Bell Cap
Before attaching the stone to your necklace, you must prepare both the stone and bell cap properly. This preparation is crucial for a firm hold and a polished look.
Shaping the Bell Cap to Fit
First, position the bell cap on the stone to figure out where it will be glued. Use your fingers or a burnisher to bend the prongs of the cap to match the stone’s shape. The fit does not have to be exact, but the closer it is, the better. Adjust the bell cap until it sits snugly on the stone.
Sanding and Cleaning for Effective Adhesion
Next, grab your sandpaper and gently rub the area of the stone where the bell cap will attach. This roughens the surface, which helps the glue stick better. After sanding, wash both the stone and bell cap. Use soap and water to clean off any dirt or oils. Dry them well before you move on to gluing. These steps are key to ensure your necklace with a stone is not only eye-catching but durable too.
Attaching the Bell Cap Using Epoxy
Attaching the bell cap to your selected stone requires precision and the right adhesive. Epoxy, known for its strength and durability, is the recommended choice for securing the bell cap to the stone in necklace crafting. Here’s how to mix and apply the epoxy correctly, ensuring a tight bond between the stone and the bell cap.
Mixing and Applying Epoxy
Start by preparing your workspace with all necessary materials laid out. You’ll need the Epoxy 330 or any similar jewelry-grade epoxy, a small piece of cardboard, and a mixing stick or a clean toothpick. Dispense one drop of the epoxy resin (Part A) and one drop of the hardener (Part B) onto the cardboard. Use the stick or toothpick to mix the two parts thoroughly until they blend completely.
Next, carefully apply a small amount of the mixed epoxy to the fingers of the bell cap. Make sure the entire area that will contact the stone is covered with a thin, even layer of epoxy. This ensures a secure bond when set.
Setting the Stone and Bell Cap
Once the bell cap is prepared with epoxy, position it on the stone. Adjust it to the place where you shaped the cap to fit. Press gently to ensure good contact between the stone and epoxy-covered cap. Let the assembly sit undisturbed. The epoxy will take about 15 minutes to set and will fully cure in two hours.
During the curing period, it’s helpful to support the stone with a small mound of sand or clay. This keeps the bell cap level and prevents it from moving as the epoxy hardens. Remember, keeping the assembly still during this time is crucial for a strong bond.
By following these steps, you can confidently attach the bell cap using epoxy, setting the stage for the final assembly of your custom stone necklace.
Final Assembly of the Stone Necklace

Once your stone and bell cap are securely joined, you’re ready for the final steps. It’s time to turn your crafted pieces into a wearable stone necklace. Now, you’ll attach the bail and necklace chain. This stage requires attention to detail to ensure everything fits together perfectly.
Attaching the Bail and Necklace Chain
For this part, you’ll need the bail that came with your necklace components. Squeeze the bail and pass its narrow end through the bell cap’s loop. After this, slide the necklace chain through the bail. Ensure the components fit well together to keep your necklace secure when worn. If they seem loose, pinch the bail tighter to make sure it grips the chain.
Tips for Ensuring a Secure Fit
Here are some tips to make sure your stone necklace won’t come apart:
- Double-check the bail is tightly connected to both the bell cap and the chain.
- Pull gently on the chain and bail to test their connection.
- If the fit seems loose, use pliers to close the bail ends more securely.
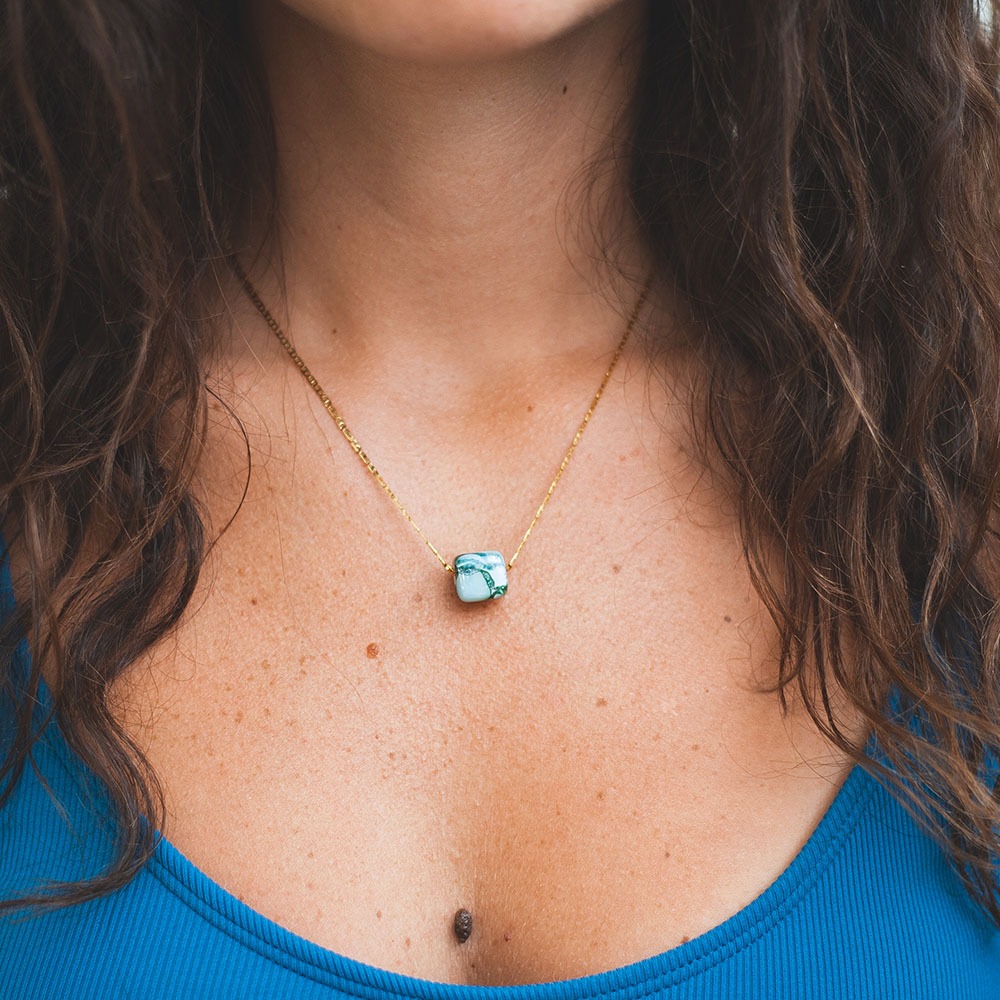
Creating your stone necklace allows for a special and unique accessory. Make sure it reflects your style and matches your outfits. With these tips, you’ll have a secure and stylish necklace tailored to your personal taste.
Additional Tips and Tricks

When crafting your stone necklace, some additional tips and tricks can elevate your DIY experience and provide a touch of personalized flair to your creation.
Handling Epoxy Safely
Epoxy is excellent for bonding, but it must be handled with care. Always work in a well-ventilated area and wear gloves to protect your skin. Read the instructions on the epoxy package carefully and only mix as much as you need to avoid waste. If you get epoxy on your skin, wipe it off immediately with a cloth and wash the area with soap and water. Remember, safety comes first in crafting as well!
Creative Ideas for Customizing Your Necklace
After mastering the basics of how to make a necklace with a stone, get creative with customization. Here are some ideas:
- Mix metals: Use different metal tones for the bell cap and the chain for a trendy look.
- Layer stones: Attach smaller stones around the main stone for added dimension and style.
- Engrave the bail: Personalize the bail with initials or a special date.
- Add charms: Include meaningful charms along the chain for a personalized touch.
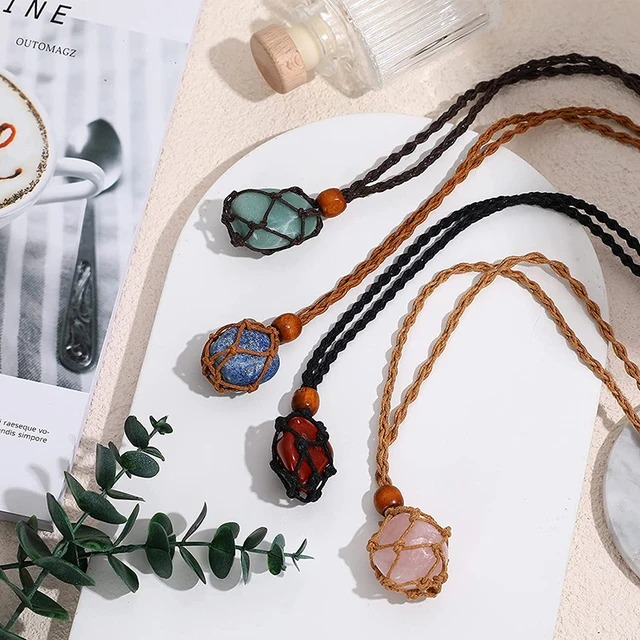
- Use colorful cords: Swap out the metal chain with vibrant cords to match different outfits.
By using these tips and tricks, you’ll not only ensure a safe and pleasant crafting experience but will also end up with a truly unique and personal piece of jewelry that stands out.

