Planning Your Necklace Design
Designing a necklace requires creativity and a clear vision. Begin by selecting a theme that resonates with you. It may reflect a personal interest, an upcoming event, or a fashion trend. Consistency in style is key to creating a cohesive piece of jewelry.
Choosing a Theme and Style
Consider colors, shapes, and symbols that inspire you. Your necklace’s theme could range from nature-inspired to vintage flair. Think about the overall look you’re aiming for—is it delicate and subtle or bold and statement-making?
Sketching a Design and Selecting Materials
Grab a pencil and start drafting. Sketching helps translate your theme into a visual blueprint. Next, choose materials that will bring your design to life. This involves picking out beads, pendants, and stringing materials that match your vision. Pay attention to texture and color combinations that work well together.
Gathering Necessary Materials
Creating a stunning handmade necklace begins with gathering the right materials. Before you dive into the crafting process, make sure you have everything you need at your disposal. This will help streamline your necklace making and ensure a smoother crafting experience.
Essential Tools for Necklace Making
For a successful necklace project, some essential tools are necessary. Make sure to have:
- Pliers, for bending wires and securing clasps.
- Wire cutters, to trim your stringing material to size.
- Scissors, always handy for cutting threads or ribbons.
- Crimping tools, if you plan to use crimp beads to secure your necklace ends.
- A ruler or tape measure, crucial for getting the length of your necklace just right.
- A bead board or mat, to layout your design and keep beads from rolling away.
Having these tools on hand will make the process easier and more precise.
Choosing the Right Beads, Pendants, and Clasps
Once your workspace is set with the necessary tools, it’s time to pick your beads, pendants, and clasps. These components are the heart of your necklace.
- Beads come in many forms: glass, wood, metal, or plastic. Decide on size, shape, and color.
- Pendants serve as the focal point. Choose one that fits your theme and style.
- Clasps and closures are vital for function. Select a style that supports the weight and design of your necklace, whether it’s a lobster claw, toggle, or magnetic clasp. Consider ease of use.
Pick materials that not only look good together but also feel good when worn. Balance aesthetics with wearing comfort for a piece that’s both beautiful and practical.
Basic Necklace Techniques
Creating a DIY necklace involves fundamental techniques that ensure a successful project.
Preparing the Workspace
To start, clear a flat surface, such as a table or desk. Gather all necessary tools and materials, including beads, clasps, pendants, and stringing wire or thread. Arrange them neatly so you can easily reach everything you need. A well-organized workspace helps prevent lost materials and frustration. Ensure good lighting and consider a bead mat to keep beads in place while you work.
Measuring and Cutting String or Wire
Decide the necklace length you desire, then add a few inches to allow for clasps and adjustments. Use a ruler or tape measure to get an accurate length. If you’re using wire, carefully cut it with wire cutters. For string or other flexible materials, use scissors for a clean cut. Double-check the length before you begin stringing to avoid errors that could require you to restart.
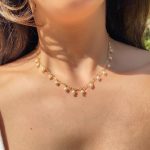
Beaded Necklace Creation
Creating your very own beaded necklace can be both rewarding and fun. It’s a chance to play with colors and shapes, creating a piece that’s exclusively yours.
Stringing Beads Effectively
Start by laying out beads in the sequence you want them. Pick a string or wire that fits through your beads. Threading can be made easier with a beading needle. Remember to leave extra space for the clasp. Once the beads are in place, check the design before tying off.
Securing the Ends with Clasps
Choosing the right clasp is key for your necklace. It should match the style and weight of the beads. Thread the end of the string through the clasp and secure it with a knot or crimp bead. Once attached, pull tightly to ensure the clasp is fixed and won’t come loose. Enjoy your handcrafted necklace, made with personal flair and style.
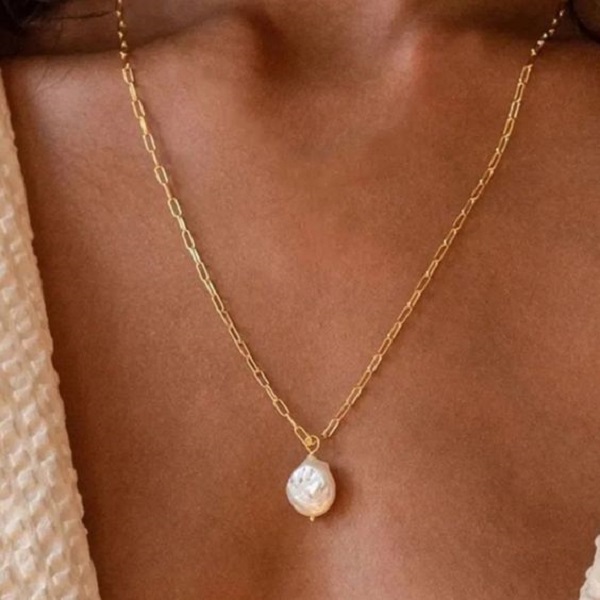
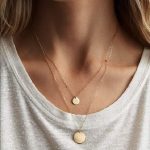
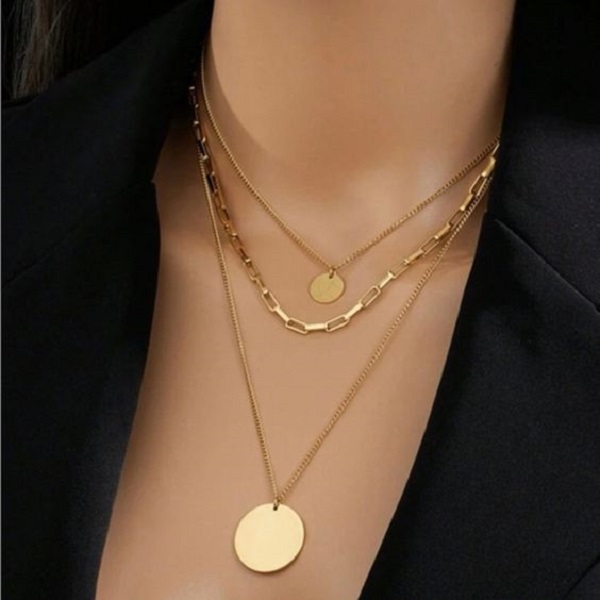
Crafting Pendant Necklaces
Crafting a pendant necklace allows for creativity and a personal touch in your jewelry collection.
Selecting and Attaching the Ideal Pendant
Choosing the right pendant is a critical step. It defines the necklace’s character. Look for shapes and sizes that fit your theme. For ease, pick pendants with pre-made holes. They simplify the attachment process. To attach, slide the pendant onto your chosen string or chain. If necessary, use a jump ring to ensure it hangs properly.
Ensure the pendant’s weight is suitable for the chosen material. Heavier pendants need stronger chains or cords. Once the pendant is on, check its position. It should sit correctly and stand out as your necklace’s focal point.
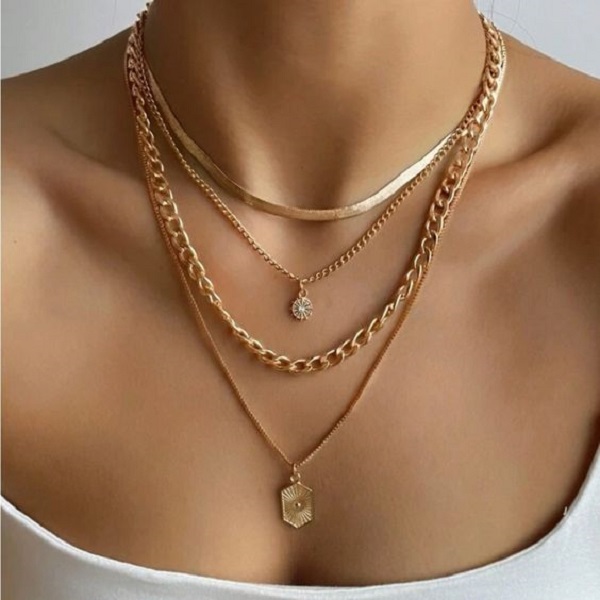
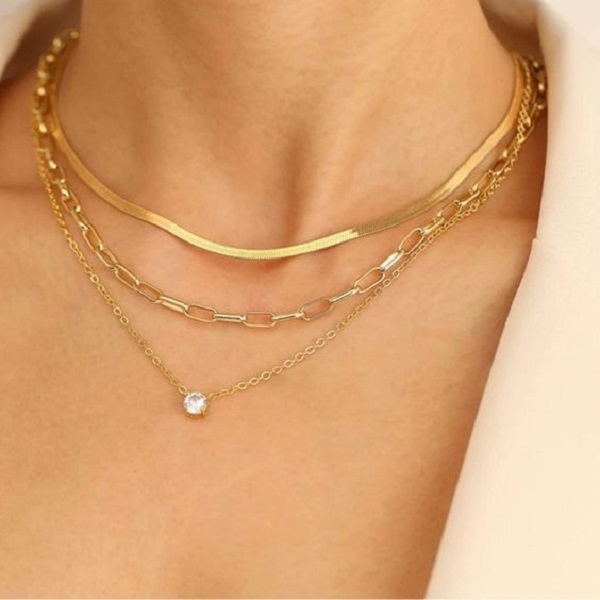
Incorporating Additional Design Elements
To add more personality, consider extra design elements. These can be beads, smaller pendants, or metal charms. When adding these, maintain balance in design. You want the pendant to stay the main feature.
Place additional elements either side of the pendant for symmetry. Space them out evenly for a cohesive look. Use complementary colors and shapes. This will enhance the pendant without overpowering it.
Always double-check the design before finalizing. Lay out all components and adjust as needed. Once satisfied, start securing them in place. The end result should be a necklace that’s both stylish and uniquely yours.
Creating Special Types of Necklaces
Creating unique necklaces adds variety to your collection. Explore special types like floating bead and stone tassel necklaces. These designs stand out for their distinct features.
Constructing a Floating Bead Necklace
A floating bead necklace creates an illusion of beads suspended in air. For this technique, use clear nylon or fishing line. Add beads and crimp beads along the line at intervals. Secure each bead with crimping pliers to hold it in place. The result is a series of beads that appear to float along the wearer’s neck.
Choose beads that complement each other and fit the style you want. Measure your thread carefully, leaving extra for adjustments. Place crimp beads where needed to keep your design in check. When happy with the layout, crimp beads in place for a polished look.
Designing a Stone and Tassel Necklace
Stone and tassel necklaces combine earthy elements with soft textures. Pick a stone pendant as the central piece. Use a bead cap with adhesive to attach it to the top of the stone. Secure a jump ring to the cap once the glue sets. For the tassel, cut threads evenly and fold to form a bunch. Wrap a thread near the top to form the tassel head. Attach a jump ring to the tassel as well.
Join the stone and tassel to a chain or cord using the jump rings. The mix of materials creates an eclectic accessory. Stone pendants bring a natural vibe, while tassels add a playful touch.
Remember, balance is key in design. Ensure that the weight of the stone is suitable for the chosen chain. The final look should be harmonious and reflect your personal style.
Finishing Touches and Closures
After creating your necklace, it’s time for finishing touches that make it ready to wear.
Adding Clasps and Jump Rings
Clasps and jump rings are small but crucial for a necklace’s wearability. Select a clasp that matches your design and is easy to use. Lobster claws, toggles, and magnetic clasps are popular choices. For a seamless look, use jump rings to attach clasps to your necklace. Use two pairs of pliers to open jump rings, attach them to your necklace, and then close them securely. This ensures your necklace is secure and the clasp works as intended.
Ensuring Durability and Comfort
A durable necklace can withstand regular use. To ensure longevity, double-check all connections. Make sure the crimp beads are tight and the clasps are firmly attached. Comfort is equally important. The necklace should sit well on the neck and feel good against the skin. For comfort, use smooth beads and avoid sharp edges. Also, consider the necklace length. It should be appropriate for the style and fit the wearer comfortably. Whenever you create a new piece, wear it to test its comfort and durability.
In conclusion, attention to detail in finishing touches can elevate the quality of your handmade necklace. Adding proper clasps and ensuring the necklace’s durability and comfort are essential steps in the crafting process.