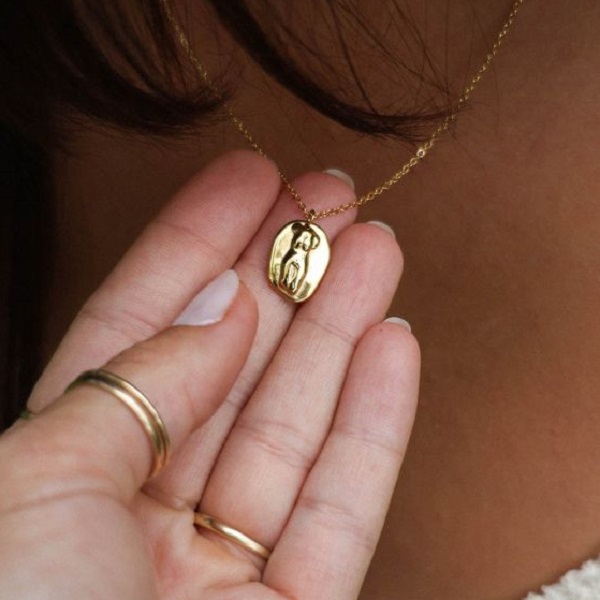
Assessing the Damage to Your Necklace Chain
When facing a broken necklace, first assess the damage. Identify the break type and if possible, fix it at home. How to fix broken necklace?
Identifying the Type of Break
Begin by examining the chain closely. Look for signs like a split link or a complete snap. Determine if it’s a clean break or if there’s twisting involved. Use a magnifying glass for a clearer view if required.
Determining Repair Feasibility at Home
Consider the tools you have and your skill level. Minor breaks might be manageable with basic tools like pliers and jump rings. If the chain is fine or the damage extensive, professional help might be needed. Understand the material and complexity of the necklace before deciding to proceed with a home repair.
Necessary Tools for Necklace Repair
When you’re trying to fix a broken necklace, having the right tools is key. Without them, repairs can be difficult, or even impossible, to carry out safely and effectively. Let’s break down the essential tools you’ll need.
Overview of Basic Repair Tools
To get started, you should have these basic tools:
- Jewelry pliers: For bending and shaping metal.
- Jump rings: Small rings that connect different parts of a necklace.
- Lobster clasp: A common type of clasp for securing the necklace.
- Magnifying glass: Helps you see small details clearly.
- Soft cloth: For cleaning and polishing the necklace.
These tools are the foundation for most necklace repairs. They allow you to handle delicate parts without causing further damage.
Additional Tools for Specific Repair Methods
For more complex repairs, you may need additional tools:
- Soldering iron: Used to fuse metal together.
- Flux: Helps solder adhere to metal surfaces.
- Wire cutters: For cutting chain links or wire to size.
- Tweezers: For picking up and holding small parts.
- Safety glasses: To protect your eyes during soldering.
Using the correct tools not only makes the repair process smoother but also helps ensure that your necklace is restored to a wearable condition. Armed with basic and specialised tools, you can tackle a range of problems that might occur with your necklace.

Step-by-Step Repair Instructions
How to fix broken necklace? Repairing a broken necklace chain can seem daunting, but with step-by-step guidance, it’s quite manageable. These instructions will help restore your beloved piece.
Removing Damaged Links
First, identify any damaged links using a magnifying glass. Carefully use wire cutters to snip them out. Be cautious not to cut any additional, undamaged links. Next, smooth out the ends of the remaining links with fine sandpaper.
Using Jump Rings and Clasps
To rejoin the chain, use jump rings. Open a jump ring with pliers, attach the chain ends, and then close it securely. If the clasp is damaged, attach a new lobster clasp using a jump ring. This ensures the necklace fastens correctly.
Soldering Broken Chain Links
For a permanent fix, soldering is a reliable method. Begin by cleaning the chain with alcohol. Apply a small amount of flux to the broken ends. Heat with a soldering iron until the solder flows and bonds. Allow it to cool, then clean any residue.
Wire Wrapping for Added Strength
Wire wrapping can reinforce weak points. Measure and cut a small piece of wire. Wrap it tightly around the break several times. Use pliers to pinch the wire ends flat against the chain. This method adds strength and can enhance the necklace’s design.
Alternative Repair Methods
Sometimes, you might need different ways to mend a necklace besides the usual methods.
When to Use Glue
Glue can work for a quick fix, but it’s not strong. Use it for temporary solutions on less strained parts of a necklace, like attaching small charms. Always choose a strong adhesive designed for jewelry. Apply glue to clean, dry surfaces for the best hold. Remember, glue is often a short-term solution.
Temporary Fixes with Existing Clasp
If the clasp breaks, you can sometimes use the necklace’s existing clasp for a quick fix. If the break is near the clasp, you might remove the broken piece and attach remaining links directly to the clasp. This shortens the chain but allows you to wear it until you can get a permanent fix. Be gentle to avoid further damage.
Professional Repair Services
For delicate or complex problems, seeing a pro might be best. Jewelers have special tools and skills to mend broken necklaces well. Professional services may cost more but ensure a durable and almost invisible repair. If your necklace is valuable or sentimental, consider a jeweler’s help as an investment in preserving your piece.
Prevention Tips to Avoid Future Breaks
To keep your necklace in top shape, follow these prevention tips. They’re simple and effective.
Proper Necklace Storage and Care
Storing your necklace right is key to preventing breaks. Use a soft jewelry pouch or a box. Keep it flat, without kinks, and away from other jewelry to avoid tangles. Avoid wet places and don’t expose your necklace to harsh chemicals. This helps to keep it safe and intact.
Routine Inspection and Maintenance
Regular checks can save your necklace from big issues. Look for bent links or loose clasps. Get them fixed before they break. Clean your necklace gently with a soft cloth. This removes dirt that can cause wear and tear. Taking care of these little things can mean less fixes later.
Concluding Thoughts on Necklace Repair
Jewelry repairs can often seem daunting. However, with a little bit of knowledge and the right tools, you can bring your treasured pieces back to life. Being equipped with these skills not only allows you to extend the life of your necklaces but also gives you a sense of accomplishment and independence. In a world where fast fashion leads to too much waste, repairing your jewelry is also an environmentally friendly choice.
The Value of Knowing Repair Techniques
Knowing how to fix necklace chains is both practical and rewarding. You can save time and money by handling minor issues yourself. Plus, you keep your favorite pieces out of the landfill. With a little practice, you’ll feel more confident to tackle various types of repairs and make well-informed decisions about when to DIY and when to seek professional help.
Balancing DIY Repairs vs. Professional Help
Understanding when to take on a repair yourself and when to go to a jeweler is key. Minor damage might be an easy fix at home. But for fine or complex chains, or when special tools are needed, it’s best to trust a pro. They have the expertise to fix it right, without risking further damage to your valued pieces.
FAQs about Necklace Repair
Addressing Common Concerns with Broken Necklaces
How to fix broken necklace? When dealing with a broken necklace, many questions arise. Let’s tackle some common concerns to help you through the repair process.
- Can all broken necklaces be fixed? Most can, but it depends on the break and the necklace type.
- Is glue a strong repair method? Not usually; it’s better for a quick, temporary fix.
- How much does it cost to repair a necklace? Costs vary, from a few dollars for DIY to more for professional work.
- Are thin, delicate necklaces harder to fix? Yes, they need careful handling, often by professionals.
- Can I add extra clasps to secure my necklace? It’s possible, but the new clasps should match and be attached securely.
Always assess the damage first. If unsure, consult a professional to avoid further harm to your beloved jewelry.