Introduction to Beaded Necklace Making
Crafting a beaded necklace is a satisfying project for any beginner crafter. It’s a way to express creativity through a unique piece of jewelry that can be worn or gifted. The process involves threading beads of various colors, sizes, and shapes onto a stringing material and securing them with clasps. Making a beaded necklace is not only relatively straightforward but also allows for endless personalization. In this guide, I will walk you through the basics of making your first beaded necklace, highlighting the materials and tools you will need, detailing a step-by-step tutorial, and providing tips for troubleshooting common challenges. Whether you want a casual piece for everyday wear or an elegant statement necklace, the skills you learn here will give you the foundation to start crafting your very own beaded necklaces. Let’s dive into the colorful world of beads and explore the simple beauty of handmade jewelry.
Essential Materials and Tools
To start your beaded necklace project, gathering the right materials and tools is crucial. Below, I have compiled a list of what you’ll need, making it easy for you to get started.
Materials Needed
- Beads: Choose an assortment of beads in various colors, shapes, and sizes to create your desired design.
- Stringing Material: Options include silk thread, nylon thread, or soft illusion cord for stringing the beads.
- Clasps: A lobster clasp or similar closure to secure your necklace.
- Crimp Beads: Small beads used to secure the clasps in place.
- Jump Rings: Metal rings used to attach clasps to the necklace.
Ensure you have enough beads and materials, particularly for larger projects like long beaded necklaces or multi-strand designs.
Tools Required
- Scissors: For cutting thread or cord to the necessary length.
- Needle: Helps to thread smaller beads onto the stringing material.
- Pliers: Needle-nose pliers are necessary for closing crimp beads and working with jump rings.
- Ruler or Measuring Tape: Essential for measuring the length of your necklace.
Having these materials and tools ready, you’re set to begin making your own beaded necklace. Don’t worry if you’re still learning; I’ll guide you through each step for guaranteed success.
Step-by-Step Guide to Making Your First Beaded Necklace
Preparing Your Thread and Adding Clasps
Before you dive into the beading process, it’s essential to prepare your thread and attach clasps. Start by cutting a piece of your chosen stringing material. The length should fit your desired necklace size plus extra for tying knots. Thread a needle if you’re using thin material like silk or nylon thread. Now, slide a crimp bead onto one end, followed by a clasp, then loop the thread back through the crimp bead. Use your pliers to squeeze the crimp bead and secure the clasp.
Threading Beads and Design Patterns
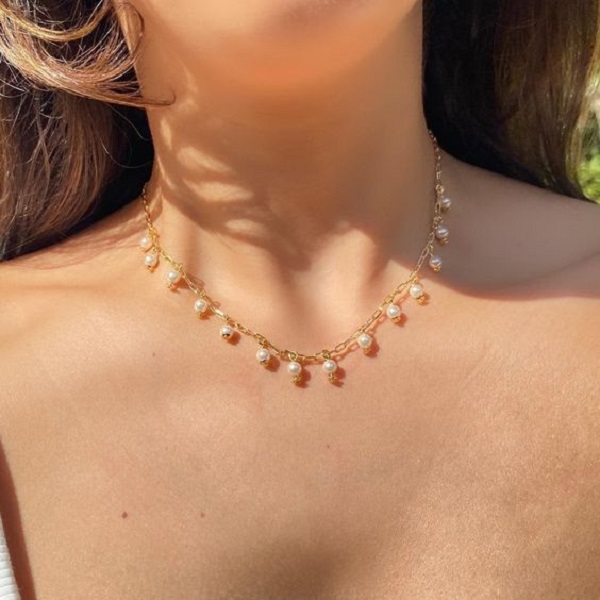
Once your clasp is on, the fun part begins. Thread beads onto the material in the order that matches your design. Play with colors, shapes, and sizes to create patterns that express your style. Remember to leave enough room at the end for the final clasp. For long beaded necklaces, you may choose to create a simple, repeating pattern or a single striking color scheme. For a more elaborate touch, consider beaded necklaces with lockets or pendants as focal points.
Securing Beads and Finishing Touches
After arranging your beads, it’s time to secure the other end. This is similar to the starting process. Slide the second crimp bead onto the string, then the second part of the clasp. Loop the thread back through the crimp bead, and pull tight to ensure there’s no slack. Use pliers once more to crimp and secure the bead. Trim any excess material, and your beautiful handcrafted beaded necklace is ready to wear or gift. With these simple steps, crafting a beaded necklace is both easy and rewarding.
Design Variations for Beaded Necklaces
Experimenting with different designs can add flair to your beaded necklaces. Here, I’ll explain three popular styles. Even as a beginner, you can achieve stunning results with these tutorials.
Long Beaded Necklace Tutorial
A long beaded necklace is versatile and can be a statement piece. Cut a strand of your stringing material about 48 inches long. Add a lobster clasp and crimp bead at one end. Then, thread your beads until you have about 2 inches left. Finish with another crimp bead and jump ring. Now you have a chic long necklace that you can wear in various ways.
Beaded Necklace with Locket Pendant
Adding a pendant makes your necklace eye-catching. Begin like the previous tutorial, but stop halfway to add your locket. Choose a large or special bead as a pendant. Attach it to a headpin and loop it onto the string. Then continue beading until the end and secure with a clasp. This style adds elegance to your neckline.
Multiple String Beaded Necklace
More strands mean more impact. You’ll need extra clasps and stringing material. Start each string as you would a single necklace. Once all strands are beaded, gather them at each end. Use a larger jump ring or a cone to bring them together. Attach your clasp for a multi-strand masterpiece. It’s a great way to mix colors and textures.
Troubleshooting Common Beading Challenges
When you embark on beaded necklace making, you may encounter some issues. It’s normal, especially for beginners. But don’t worry, I’ll help you tackle some common problems so you can carry on crafting with confidence.
Handling Bead Slippage
Bead slippage can be frustrating. To prevent your beads from falling off the thread, try these tips:
- Tape the end of your thread after attaching the clasp. This acts as a temporary ‘stopper’.
- Hold on to the unfinished end as you bead. This keeps everything in place.
- Use a bead stopper or a small clip. It secures beads on the thread temporarily.
By using these methods, you’ll keep your beads secure as you craft.
Knotting Techniques for Strength
Knots add strength and prevent bead loss. Here’s how to knot effectively:
- Make a small knot between beads at intervals. This stops them from rubbing together.
- Use surgeon’s knots for added security. They are less likely to come undone.
- Always use a thread that matches the beads’ hole size. Too thin, and your knots may slip through.
By mastering these knots, your necklace will be sturdy and durable.
Crimping Beads Without Crimping Pliers
If you don’t have crimping pliers, don’t stress. Other tools can suffice. Small needle-nose pliers can crimp just as effectively. Just be gentle to avoid breaking the bead. Lay the crimp bead in place and press firmly to secure your creation. With practice, your technique will improve, and your finished necklaces will hold together beautifully.
Understanding these solutions will help you overcome any obstacles in your beaded necklace projects.
Advanced Tips for Beaded Necklace Crafters
As you grow more skilled in making beaded necklaces, these advanced tips will help refine your designs.
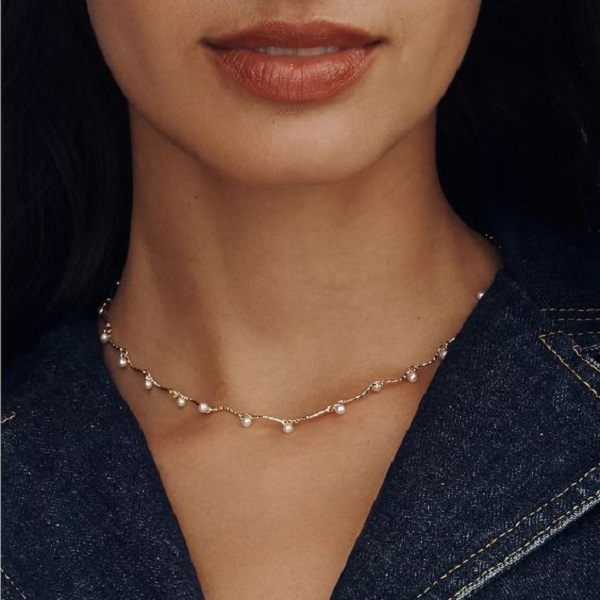
Choosing the Right Bead Sizes and Types
Select beads that match your design’s needs. Small seed beads work well for detailed patterns. Larger beads make bold statements. For texture, mix different bead types. Try combining smooth glass beads with rough stone beads. Pick bead sizes that fit your stringing material. Ensure the thread matches the bead holes. This will make threading easier, and the finished piece will look neater.
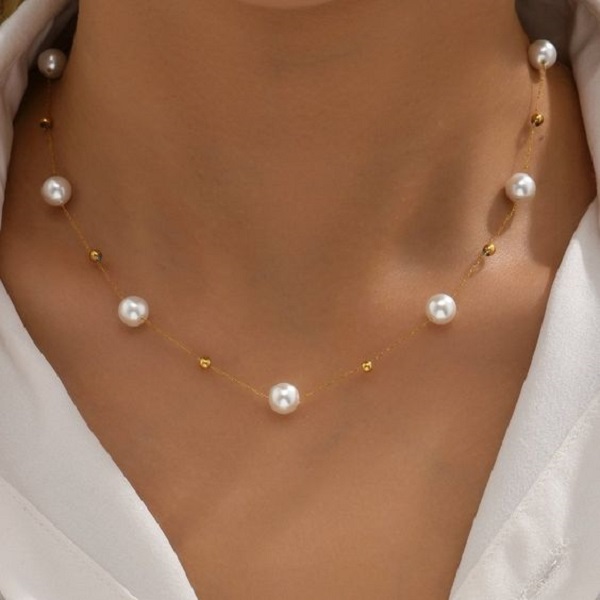
Adding Pendants and Charms
Pendants and charms add interest to your necklace. Place them at the center for a focal point. You can also space them out for rhythm in the design. Use a jump ring to attach them to the string. Make sure your string is strong enough to hold their weight. This will keep the necklace from breaking.
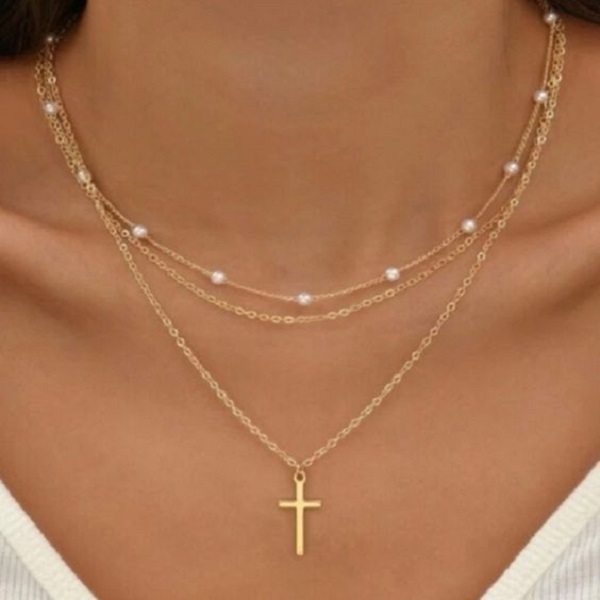
Creating Layered Beaded Necklaces
For a layered look, plan your lengths. Start with shorter lengths for the inner layers. Add longer strands for the outer ones. Mix bead sizes for depth. Secure each layer well with crimp beads and clasps. You can connect them at the clasp or keep them separate for versatility. Layered necklaces offer a rich, textured look that’s very stylish.
Concluding Advice for First-Time Necklace Makers
As you finish your first beaded necklace, take pride in your creation. Here are some final tips to help you succeed:
- Start Small: Begin with a simple design. Tackle intricate patterns as you gain confidence.
- Stay Patient: It may take time to get the hang of beading. Don’t rush the process.
- Keep Practicing: The more necklaces you make, the better your skills will become.
- Be Creative: Don’t be afraid to try new ideas. Mix colors, bead sizes, and materials.
- Quality Materials: Use the best materials you can afford. Higher quality means a longer-lasting necklace.
- Secure Knots: Make sure your knots are tight, so your necklace is strong.
- Check Clasps: Ensure clasps are firmly attached to avoid losing your necklace.
- Test Strength: Gently pull on the necklace to check its durability before wearing.
- Ask for Feedback: Show your necklace to friends or family and consider their input.
- Enjoy: Most importantly, enjoy the process and the satisfaction of making something beautiful by hand.
By following these tips and using the step-by-step guides, you’ll create beaded necklaces that are not only beautiful but also durable and personalized. Remember, each necklace you make is a reflection of your creativity and effort.