Ditch the store-bought jewelry and unleash your inner designer! Crafting your own earrings is a fun and rewarding hobby. Plus, it’s a fantastic way to personalize your look and express yourself through unique designs.
This guide walks you through the essential steps of creating simple earrings at home. We’ll explore various techniques and materials suitable for beginners. So, grab your supplies, and get ready to add a touch of handmade charm to your wardrobe!
Gather Your Supplies
Before diving into the creative process, you’ll need to gather some essential supplies. The good news is you can find most of these items at your local craft store or online retailers. Here’s a basic list to get you started:
Jewelry Findings:
These are the pre-made components that provide structure and functionality to your earrings. Examples include ear hooks, jump rings, eye pins, and earring posts.
Pliers:
Two types of pliers come in handy – round-nose pliers for creating loops and flat-nose pliers for gripping and shaping wire.
Wire Cutters:
As the name suggests, these are used for cutting wire to your desired length.
Earring Backs:
Choose from various earring back options like comfort clutches, butterfly backs, or silicone stoppers for a secure and comfortable fit.
Optional Materials:
Beyond the basics, the world of earring creation is wide open! Here are some optional materials to add variety and personalization to your designs:
-
Beads: Seed beads, glass pearls, gemstone beads – the options are endless! Choose beads in different sizes, colors, and textures to create stunning combinations.
-
Charms and Pendants: Tiny charms or lightweight pendants can add a unique touch to your earrings.
-
Clasps: For dangle earrings, consider incorporating small clasps to connect multiple components securely.
-
Ribbon and Fabric Scraps: Fabric scraps or colorful ribbons can be cut into shapes and incorporated into your designs for a whimsical touch.
Explore Different Earring Styles (with Easy Techniques!)
Now that you have your supplies, let’s explore some popular earring styles that are perfect for beginners.
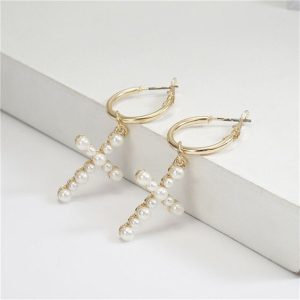
Classic Hoop Earrings
Hoop earrings are timeless and versatile. Here’s how to make a simple pair using jump rings:
- Choose jump rings in your desired size and metal finish.
- Open a jump ring carefully using your pliers.
- Slide the open jump ring onto an ear hook.
- Close the jump ring securely with your pliers, ensuring the opening faces the inner side of the hoop.
Variations:
- For thicker hoops, use multiple jump rings linked together.
- Add a charm or bead by attaching it to the jump ring before closing it.
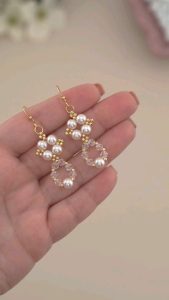
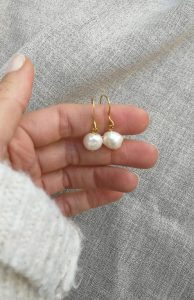
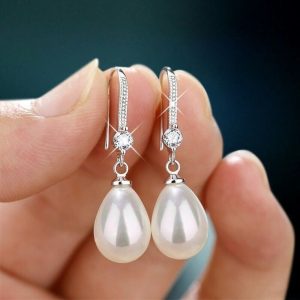
Simple Dangle Earrings
Dangle earrings add a touch of movement and elegance. Here’s how to create a basic design with beads:
- Select ear hooks and eye pins.
- Thread your favorite beads onto the eye pin.
- Use round-nose pliers to create a small loop at the end of the eye pin, securing the beads in place.
- Attach the eye pin with looped end to an ear hook using a jump ring. Open the jump ring, slide it onto the loop, and close it securely.
Variations:
- Use different bead sizes and colors to create a patterned dangle.
- Experiment with various chain lengths for a cascading effect.
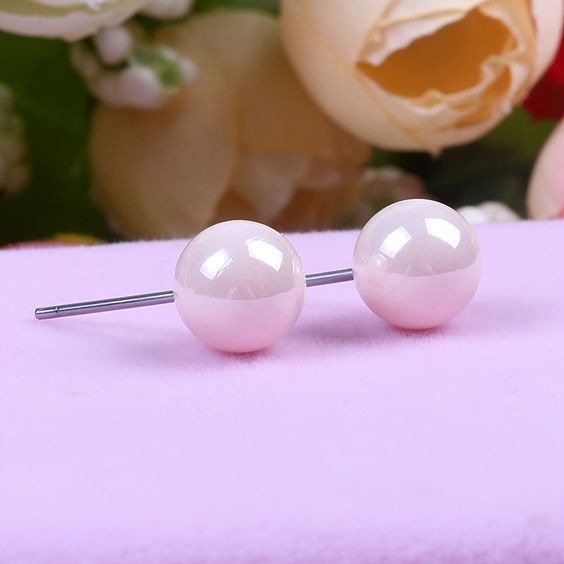
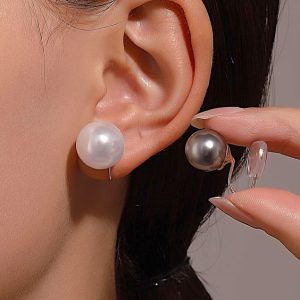
Easy Stud Earrings
Stud earrings are a wardrobe staple. Here’s how to make a simple pair using earring posts and beads:
- Choose earring posts and beads with a flat back suitable for gluing.
- Apply a small amount of fast-drying jewelry glue to the flat surface of the bead.
- Carefully press the bead onto the earring post, ensuring it’s centered and straight.
- Allow the glue to dry completely before wearing.
Variations:
- Use buttons, small charms, or other flat-backed embellishments instead of beads.
- Paint or decorate wooden beads for a personalized touch.
These are just a few ideas to get you started. With some practice and exploration, you’ll discover countless possibilities for creating unique and beautiful earrings!
Pro Tips for Creating Earrings Like a Pro
-
Plan your design: Sketch or visualize your earrings before diving in. This helps ensure you have the right materials and prevents wasted effort.
-
Work in a well-lit area: Good lighting allows you to see details clearly and make precise bends and loops.
-
Cut wire carefully: Use sharp wire cutters to avoid fraying or bending the wire ends.
-
Open and close jump rings properly: Always open jump rings by twisting them sideways, never by pulling them apart.
Beyond the Basics: Additional Techniques to Explore
As you gain confidence in your earring-making skills, you can explore more advanced techniques to create even more stunning designs. Here are a few ideas:
-
Wire Wrapping: This technique involves wrapping craft wire around beads, findings, and other components to create secure and decorative connections.
-
French Bead Weaving: Learn basic bead weaving stitches to create intricate patterns and geometric shapes using colorful beads.
-
Jumpring Connections: Mastering different ways to connect jumprings allows you to create elaborate dangle earrings with multiple cascading elements.
-
Polymer Clay: Sculpting with polymer clay opens a world of possibilities for creating unique and personalized earring shapes and embellishments.
Remember, there’s a vast community of earring makers online and in craft stores. Don’t hesitate to seek inspiration from tutorials, workshops, and online forums to expand your skills and discover new creative approaches.
Add a Personal Touch: Embellish Your Earrings!
While simple designs are beautiful, there are many ways to personalize your earrings and add a touch of your own flair. Here are some ideas:
-
Paint or Dye: Wooden beads, natural findings, or even fabric scraps can be painted or dyed to match an outfit or create a unique color palette.
-
Decoupage: Cut out small images or patterns from magazines or tissue paper and adhere them to flat surfaces for a unique touch. Seal them with a coat of clear varnish for durability.
-
Natural Elements: Incorporate dried flowers, small leaves, or feathers into your designs. Be sure the elements are lightweight and dry to avoid damage.
-
Mix and Match: Don’t be afraid to combine different materials and findings. Experiment with beads, ribbons, buttons, or charms to create one-of-a-kind designs.
Conclusion
Creating your own earrings is a fun, rewarding, and surprisingly affordable hobby. With a little practice and exploration, you’ll be crafting beautiful and unique pieces that reflect your personal style. So grab your supplies, unleash your creativity, and get ready to add a touch of handmade charm to your wardrobe!