Introduction to Adjustable Necklaces
Adjustable necklaces offer versatility and comfort for anyone who wears them. They allow you to change the length to fit different outfits or preferences, making them a favorite in the world of accessories. This feature is especially beneficial for those who struggle with clasps or have a preference for varying necklace lengths.
Having the skill to create adjustable necklaces can elevate your jewelry-making craft. Not only does it add value to your handmade pieces, but it also introduces a personal touch. You can custom-tailor the necklace to any desired size with ease. In this article, we will guide you through how to make an adjustable necklace, ensuring that your final piece is both functional and stylish.
Whether you’re a seasoned jeweler or a beginner, learning to make adjustable necklaces is a handy skill. This guide will provide the knowledge and steps necessary to craft a stunning, adjustable piece. As you follow along, remember that the key to a successful adjustable necklace is precision and patience. Let’s dive into what you’ll need to start this project.
Materials You’ll Need
Creating an adjustable necklace starts with gathering the right supplies. You’ll need two main components: a cord and a pendant. The type and quality of materials you choose will affect both the look and the function of your finished piece. Choosing wisely will result in a necklace that is not only beautiful but also comfortable and durable.
Choosing the Right Cord
The cord is the backbone of your adjustable necklace. The best cords for sliding knots are typically made from leather, waxed cotton, or nylon. These materials grip well, making the knots more secure. When choosing a cord, consider the weight of the pendant and the overall aesthetic you’re aiming for.
For lightweight pendants, thinner cords work well. If your pendant is heavier, opt for a thicker cord for additional support. The length of the cord is crucial too. For a necklace that adjusts from 12 inches to 24 inches, you need at least 34 inches of cord, which accounts for the knots and attachment.
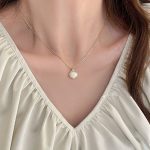
Selecting a Pendant
Now for the pendant. You can choose anything from a donut bead to a statement piece with a large opening. Ensure your pendant has an appropriate way to attach to the cord, such as a bail, jump ring, or a simple drill hole. The pendant’s size and weight should balance with the cord for both aesthetics and comfort. It’s the focal point of your necklace, so select one that complements the intended wearer’s style and preference.
Preparing Your Cord
Before you start tying knots and adding the pendant, you need to prep your cord.
Determining the Correct Length
To ensure that your necklace fits comfortably, measure the correct length of cord.
Consider the size of the head it needs to slip over when the cord is at its longest.
Begin with a base length of at least 24 inches, which provides a 12 to 24-inch adjustable range.
Add an extra 8 inches for the sliding knots and 2 inches for a lark’s head knot.
For a longer necklace, add more length to the base measurement.
Check this total length against your own neck or a sizing chart for accuracy.
Attaching the Pendant with a Lark’s Head Knot
Next, attach your pendant using a secure lark’s head knot.
Fold your cord in half to find the middle, and place the pendant above this midpoint.
Bring the cord’s ends over the pendant and tuck them underneath the folded part.
Pull tight to form the lark’s head knot, ensuring the pendant is firmly attached.
This knot allows for the pendant to hang nicely and evenly when worn.
Remember, the ease of sliding your knots will depend on how tightly this is tied.
Creating Adjustable Sliding Knots
Creating adjustable sliding knots is the next key step.
Step-by-Step Knot Tying Guide
To begin, lay out your necklace. Ensure one cord is straight and the other loops around it. Measure four inches from the end of the looped cord. Make a V-fold here. Place this V-fold on top of the straight cord. Hold both cords, keeping the V-fold in place. Wrap the shorter end around, behind, then over both cords. Repeat this process a few times. Pull the tail through the V-loop. Tighten by pulling the two ends. Your knot should now slide without coming undone. Repeat on the other cord. Your knots should mirror each other.
Troubleshooting Common Knot Issues
Sometimes, sliding knots might get too tight over time. This can happen due to humidity or frequent adjustments. If knots tighten, try loosening them slightly. Use a conditioner on the cord if necessary. This should make them easier to adjust. Remember, practice makes perfect when tying knots. Keep trying until you get smooth-sliding knots.
Finishing Touches
Once you have tied the knots and your adjustable necklace is assembled, it’s time for finishing touches.
Testing the Necklace Adjustability
To test the adjustability, hold the knots between your thumb and forefinger and gently slide them. The knots should move along the cord without resistance. Slide the knots to make the necklace its longest, place it over your head, and then adjust to your preferred length. Check if the pendant sits correctly at different lengths. If the knots are too tight or too loose, refer back to the troubleshooting section.
Tips for Wear and Care
To maintain the quality of your adjustable necklace, follow these tips:
- Avoid pulling the knots too hard when adjusting the length.
- Keep the necklace away from water and humidity to prevent the cord from wearing out.
- Store the necklace flat or hang it to prevent tangling and to preserve the cord’s shape.
- Clean the pendant according to its material. For example, polish a metal pendant with a soft cloth.
- If the cord shows signs of wear, consider replacing it to extend the necklace’s life.
Proper care will ensure your necklace remains beautiful and functional for years to come. The ability to make an adjustable necklace adds a valuable skill to your jewelry-making arsenal, allowing you to create personalized, versatile pieces that can be treasured and worn in various ways.
Alternative Techniques for Adjustable Necklaces
Making adjustable necklaces can extend beyond simple sliding knots. There are various techniques to create a necklace that suits different styles and individual tastes. We’ll discuss some alternatives to give your jewelry designs a unique twist.
Variations for Different Styles and Preferences
Different necklace designs call for varied adjustment methods. Besides the sliding knot, there are other techniques such as:
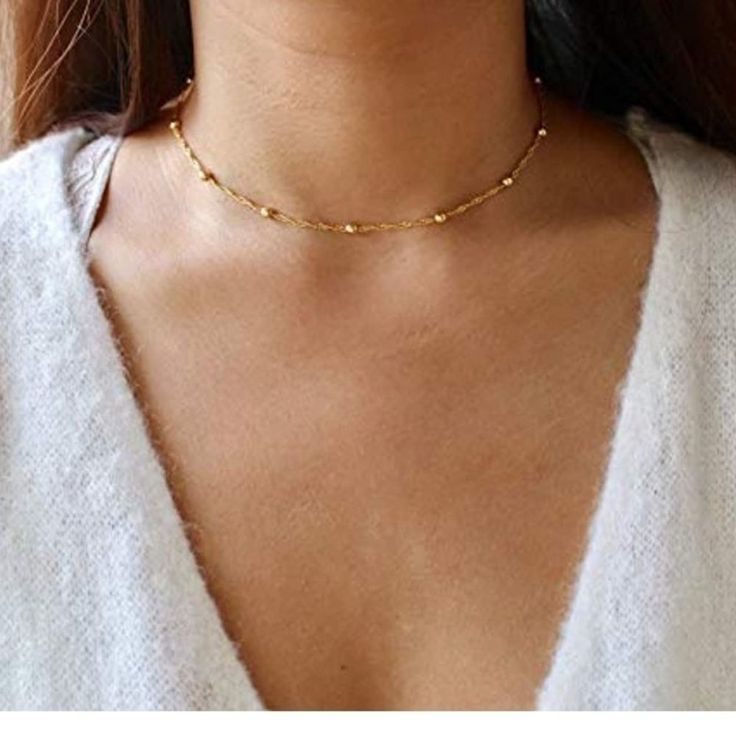
- Beaded Sliding Knots: Utilize beads as stoppers to create a sliding mechanism. This adds a decorative touch while maintaining adjustability.
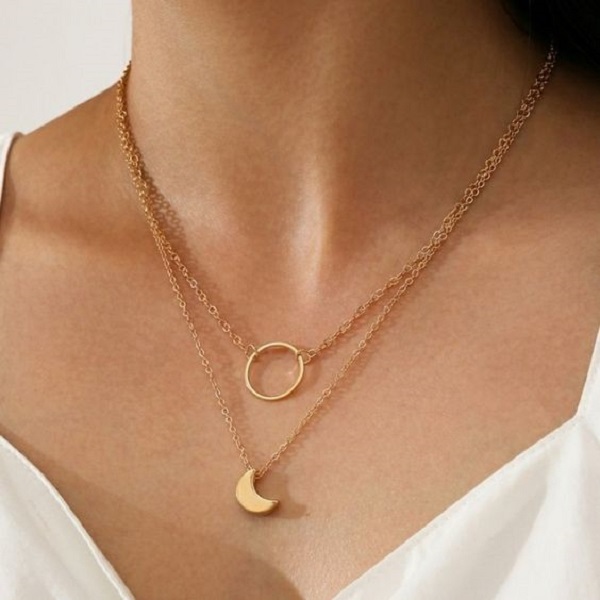
- Chain Extenders: Attach a chain segment with a clasp on one end and a small loop at the other. This allows the wearer to hook the clasp into the loop that provides the best fit.
- Adjustable Chain Links: Some chains come with links that are large enough to be used with a clasp. They allow the clasp to secure at different points for various lengths.
- Button and Loop Clasps: Attach a button on one end of the necklace and create a loop on the other. This method offers limited adjustability but can be very charming.
- Macramé Sliding Closure: Craft a macramé design that incorporates a sliding closure for adjustability. It’s a trendy option that’s both functional and fashionable.
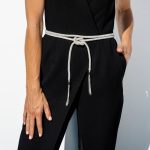
- Elasticity: Use elastic cord to make a stretchy, slip-on necklace that doesn’t require a clasp or knot to adjust.
Each of these alternative techniques allows for customization in the way a necklace fits. They contribute to a necklace’s aesthetic and functionality, so choose based on what’s best suited to your pendant and cord type. Experimenting with different adjustment methods can provide added value and uniqueness to your handmade jewelry.
FAQs on Making Adjustable Necklaces
Do you find yourself puzzled over the intricate process of creating adjustable necklaces? You’re in luck because we’ve compiled a list of frequently asked questions to help clear things up. From material selection to troubleshooting, we’ve got your concerns covered.
What kind of cord is best for adjustable necklaces?
Choose cords like leather, waxed cotton, or nylon for their good grip and knot security. The right cord depends on your pendant’s weight and desired look.
How long should the cord be for an adjustable necklace?
Start with at least 34 inches of cord. This includes extra length for sliding knots and attaching the pendant.
Can I use any pendant for an adjustable necklace?
Yes, but make sure your pendant has a bail, jump ring, or hole large enough to fit the chosen cord.
How do I attach the pendant to the cord?
Use a lark’s head knot. Fold the cord, place the pendant above the fold, loop the cord ends over and under, then pull tight.
Why are my sliding knots not staying in place?
This may happen if the knots are too loose or if the cord is not suitable. Try a different cord material or tie the knots slightly tighter.
How can I prevent the adjustable knots from getting too tight over time?
Make the knots a bit looser initially or use a drop of conditioner on the cord to keep them sliding smoothly.
These are just a few of the common questions answered. Remember, making adjustable necklaces requires practice. Keep experimenting, and soon you’ll master this valuable jewelry-making technique.