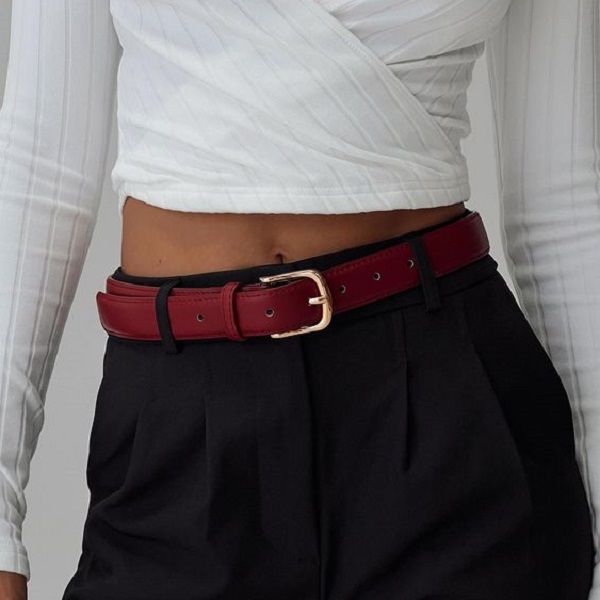
A belt, often overlooked as a mere functional accessory, can elevate your outfit from ordinary to extraordinary. Beyond simply holding up your pants, a well-tied belt can add a touch of polish, define your waist, and even make a fashion statement. Let’s explore the art of tying a belt, from mastering classic knots to experimenting with trendy styles.
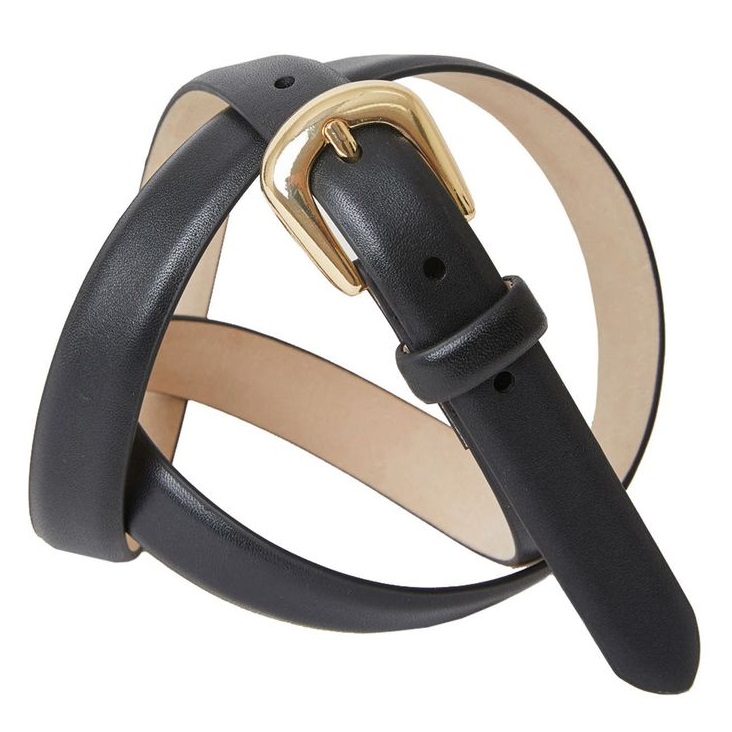
The Classic Buckle: A Timeless Staple
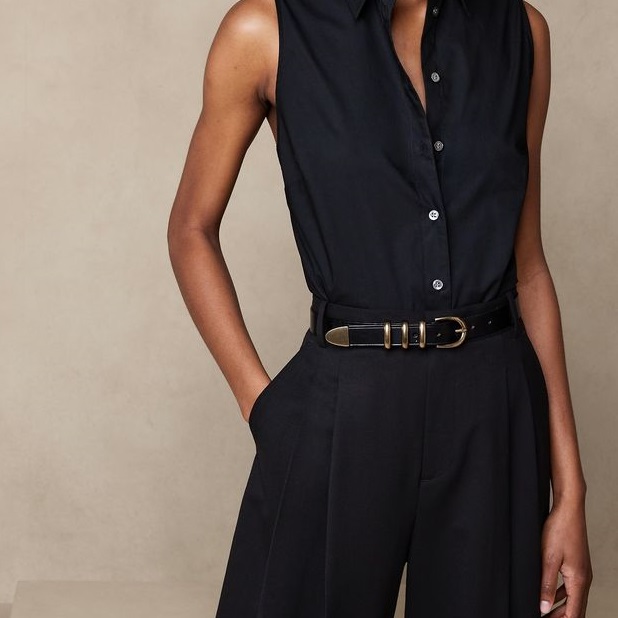
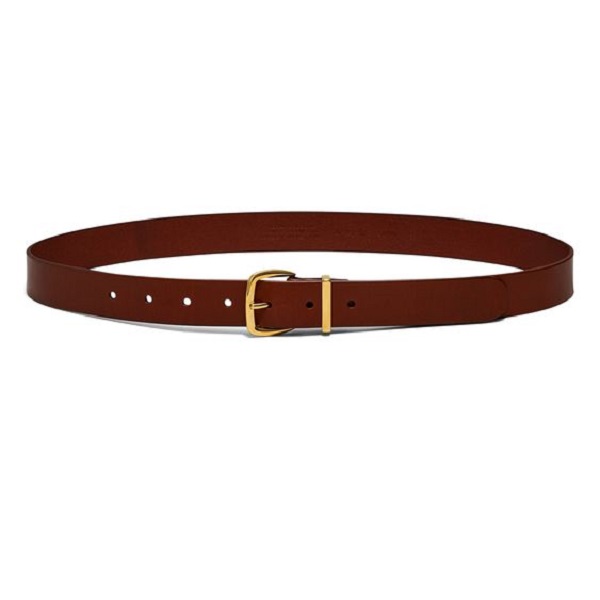
The classic buckle belt, with its prong and holes, is the most common and versatile type of belt. Let’s start with the basic technique for fastening a buckle belt.
Thread the Belt
Insert the belt’s pointed end (the “tongue”) through the buckle, ensuring it’s facing the correct direction.
Choose the Right Hole
Select a hole that provides a comfortable and secure fit. The belt should be snug but not too tight.
Insert the Prong
Slide the prong through the chosen hole, ensuring it’s securely fastened.
Adjust and Tuck
Adjust the belt as needed to achieve your desired fit. Tuck the excess tail neatly into a belt loop or let it hang loose for a more casual look.
Tips for Buckle Belts:
- Match the Buckle: Choose a buckle that complements the style of your outfit. A classic silver or gold buckle is versatile, while a more ornate buckle can add a touch of flair.
- Belt Width: Consider the width of your belt loops when choosing a belt. The belt should fit comfortably within the loops without being too tight or too loose.
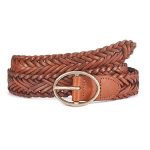
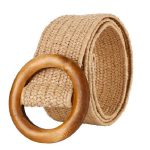
- Material: Leather belts offer a classic and sophisticated look, while fabric or woven belts add a touch of casual charm.
The D-Ring Belt: A Double-Take on Style
D-ring belts, featuring two metal D-rings instead of a traditional buckle, offer a unique and stylish alternative.
-
Thread the Belt: Thread the belt through both D-rings, starting from the underside.
-
Overlap and Secure: Overlap the two ends of the belt, ensuring the tip of the belt passes through the second D-ring. Pull the belt tight to secure it.
-
Adjust and Style: Adjust the belt to your desired fit. You can leave the excess tail hanging loose or tuck it under the belt for a cleaner look.
D-Ring Belt Tips
- Choose the Right Size: D-ring belts are typically adjustable, but ensure you choose a size that allows for enough overlap to secure the belt properly.
- Material and Width: D-ring belts come in various materials and widths. Leather or canvas D-ring belts are popular choices.
The Tie Belt: A Knotty Affair
Tie belts, often made from fabric or leather, offer a versatile and adjustable option for cinching your waist and adding a touch of flair to your outfit.
-
Wrap Around Your Waist: Wrap the belt around your waist, ensuring the two ends meet in the front.
-
Tie a Knot: Tie a simple knot, such as a square knot or a bow, to secure the belt.
-
Adjust and Style: Adjust the belt as needed to achieve your desired fit. You can create a loose, flowing knot for a bohemian look or a tighter, more structured knot for a polished appearance.
Tie Belt Variations:
- Front Tie: Tie the knot in the front for a classic and feminine look.
- Side Tie: Tie the knot on the side for a more casual and asymmetrical style.
- Back Tie: Tie the knot in the back for a sleek and minimalist look.
Mastering the art of tying a belt is a simple yet impactful way to elevate your style and add a touch of polish to your outfits. Whether you prefer the classic buckle, the unique D-ring, or the versatile tie belt, choose a style that complements your wardrobe and reflects your personality.
Remember, practice makes perfect. Experiment with different knotting techniques, explore various belt styles, and most importantly, have fun expressing your individuality through this timeless accessory.
Mastering the Art of Tying a Belt: Exploring Beyond the Basics
Once you’ve mastered the fundamental knots for classic belt styles, elevate your belt-tying game with these stylish and creative techniques.
The Double Loop Knot: A Stylish Twist
Add a touch of flair to your casual outfits with the double loop knot. It’s a simple yet visually interesting knot that works well with thinner belts.
- Thread and Buckle: Thread the belt through the buckle as you normally would.
- Create a Loop: After buckling, create a loop with the excess tail end of the belt.
- Thread and Pull: Thread the tail end through the loop, then pull it tight to create a second, smaller loop.
- Adjust and Tuck: Adjust the knot and tuck the remaining tail end neatly into a belt loop or let it hang loose.
The Wrap-Around Knot: Boho Chic
For a more bohemian and relaxed look, try the wrap-around knot. This technique works best with longer, thinner belts made from fabric or leather.
- Wrap Around Twice: Wrap the belt around your waist twice, ensuring the two ends meet in the front.
- Tie a Knot: Tie a simple knot with the two ends, leaving a portion of the tail ends loose.
- Adjust and Drape: Adjust the knot and let the tail ends drape gracefully for a relaxed and effortless look.
The Hidden Knot: Minimalist Elegance
If you prefer a clean and minimalist aesthetic, the hidden knot is a perfect choice. This technique conceals the knot, creating a seamless look.
- Thread and Buckle: Thread the belt through the buckle and fasten it as usual.
- Loop and Tuck: Create a small loop with the excess tail end of the belt and tuck it under the belt, hiding the knot from view.
- Adjust: Adjust the belt to your desired fit, ensuring the tucked loop stays hidden.
Belts Beyond the Waist: Exploring Creative Styling
While belts are traditionally worn around the waist, they can also be used in creative ways to enhance your overall look.
- Belted Dresses and Tunics: Add definition and shape to loose-fitting dresses or tunics by cinching them with a belt.
- Belted Jackets and Coats: Cinch a belt over a blazer, jacket, or coat to create a more feminine and flattering silhouette.
- Oversized Tops: Use a belt to create a cinched waist and add shape to oversized tops or sweaters.
Styling Tips
- Proportions Matter: Consider the proportions of your outfit when choosing a belt. A wider belt can overwhelm a petite frame, while a thin belt might get lost on a curvier figure.
- Contrast and Complement: Use your belt to create contrast or complement the colors and patterns in your outfit. A bold belt can add a pop of color to a neutral ensemble, while a subtle belt can harmonize with a patterned outfit.
- Experiment and Have Fun: Don’t be afraid to experiment with different belt placements and knotting techniques. Let your creativity guide you and have fun expressing your personal style.
Conclusion
Tying a belt might seem like a simple task, but mastering various knotting techniques and exploring creative styling options can elevate your fashion game and add a touch of polish to your outfits.
Whether you prefer the classic buckle, the unique D-ring, or the versatile tie belt, choose a style that complements your wardrobe and reflects your personality. With a little practice and experimentation, you’ll be tying belts like a pro and creating stunning looks that showcase your confidence and style.