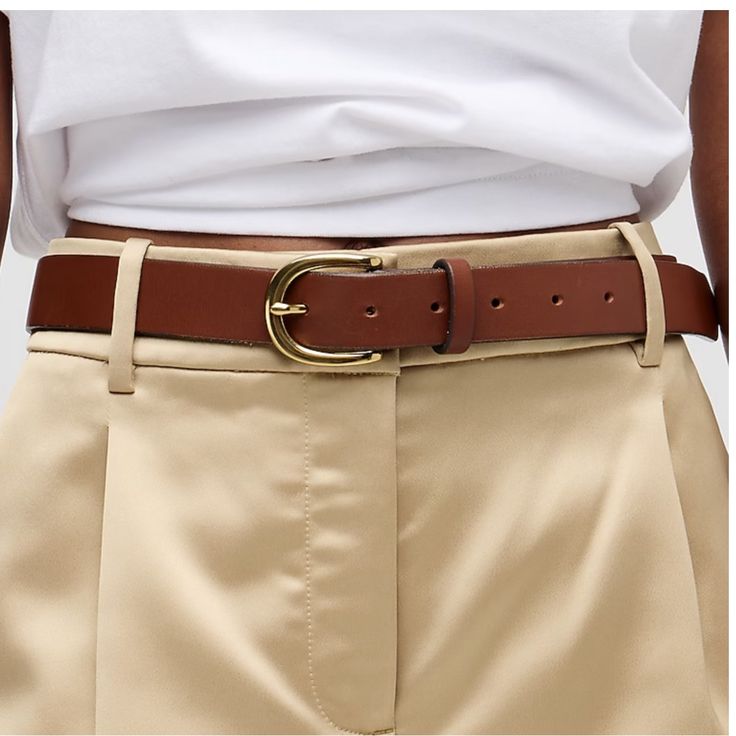
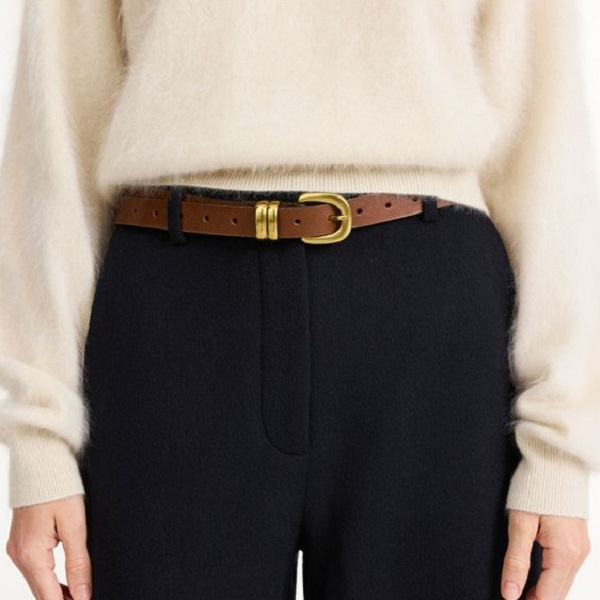
A belt, much like a well-tailored suit, should complement your physique and style. However, finding the ideal length off the rack isn’t always possible. How to cut a belt? That’s where the art of belt cutting comes in.
This guide will equip you with the knowledge and confidence to resize any belt, ensuring a perfect fit and polished appearance. Whether you’re dealing with a leather belt, a fabric belt, or even a braided one, we’ve got you covered.
Before You Start: Gather Your Tools
- Measuring Tape: Essential for accurate measurements and avoiding costly mistakes
- Sharp Scissors or a Utility Knife: Choose the appropriate tool for your belt material
- Hole Punch or Leather Punch: For creating new holes if necessary
- Marker or Pencil: To mark your cutting point with precision
- Ruler or Straight Edge: To ensure a straight and clean cut
- Sandpaper or Leather Edge Beveler (Optional): For smoothing rough edges on leather belts
Step-by-Step Instructions: Cutting Different Belt Types
Leather Belts: Classic and Durable
- Measure and Mark: Put on the belt and find your ideal fit. Mark the desired cutting point with a marker or pencil.
- Cut with Precision: Use sharp scissors or a utility knife to cut the belt at the marked point. Ensure a straight and clean cut.
- Punch a New Hole (If Needed): If the existing holes don’t align with your new size, use a hole punch or leather punch to create a new one.
- Finish the Edges: Smooth any rough edges with sandpaper or a leather edge beveler. This step adds a professional touch and prevents fraying.
Fabric Belts: Casual and Versatile
- Measure and Mark: Similar to leather belts, measure your desired length and mark the cutting point.
- Cut Carefully: Use sharp fabric scissors to cut the belt. Take care to avoid fraying the edges.
- Seal the Edges (If Needed): If the fabric frays easily, you can seal the edges with fabric glue or by carefully melting them with a lighter.
- Reattach the Buckle: Secure the buckle back onto the newly cut belt. Ensure it’s firmly attached and aligned properly.
Braided Belts: Stylish and Textured
- Measure and Mark: Determine your desired length and mark the cutting point.
- Unravel and Cut: Carefully unravel the braid near the marked point. Cut the inner core of the belt.
- Re-braid and Secure: Re-braid the loose ends and secure them with strong thread or glue. Ensure the braid is tight and even.
- Reattach the Buckle: Reattach the buckle to the newly shortened belt, making sure it’s secure and aligned.
Troubleshooting and Tips
- Double-Check Measurements: Measure twice, cut once. It’s better to be cautious and make minor adjustments later than to cut too much off.
- Practice on a Scrap Piece: If you’re unsure about a technique, practice on a scrap piece of belt or similar material first.
- Seek Professional Help: If you’re dealing with a particularly expensive or delicate belt, consider taking it to a professional tailor or cobbler.
- Be Patient: Take your time and don’t rush the process. Rushing can lead to mistakes and a less-than-perfect result.
- Experiment with Styles: Don’t be afraid to try different belt lengths and styles to see what looks best on you.
Beyond Cutting: Belt Maintenance and Care
- Store Properly: Hang your belts neatly to prevent creases and warping.
- Clean Regularly: Wipe leather belts with a damp cloth and use a leather conditioner occasionally. Clean fabric belts according to their care instructions.
- Avoid Excessive Moisture: Don’t expose your belts to excessive moisture or direct sunlight, as this can damage the material.
- Rotate Your Belts: Avoid wearing the same belt every day to prolong its lifespan.
With a little practice and the right tools, cutting a belt to the perfect length is a simple yet rewarding task. It ensures a comfortable fit, enhances your style, and maximizes the lifespan of your belts.
Remember, a well-fitting belt is an essential accessory that can elevate any outfit. So, don’t hesitate to take matters into your own hands and customize your belts to perfection.
Advanced Techniques: Beyond the Basics
Cutting a Belt from the Buckle End: Preserving the Tail Design
Sometimes you may want to shorten a belt without altering its tail design. In such cases, cutting from the buckle end is the preferred method.
- Remove the Buckle: Carefully detach the buckle from the belt. You may need a screwdriver or pliers depending on the buckle type.
- Measure and Mark: Measure your desired length from the buckle end and mark the cutting point.
- Cut and Prepare: Cut the belt at the marked point. If the belt has stitching, you’ll need to remove a few stitches near the cut to allow for reattachment.
- Reattach the Buckle: Secure the buckle back onto the newly cut belt. If necessary, use strong thread and a needle to re-stitch the belt layers together.
Tapering a Belt: Creating a Custom Fit
For a more personalized fit, you can taper the belt slightly towards the buckle end. This creates a subtle slimming effect and adds a touch of elegance.
- Measure and Mark: Measure your desired width at the buckle end and the tip of the belt. Mark these points on the underside of the belt.
- Connect the Marks: Use a ruler or straight edge to connect the marks, creating a tapering line.
- Cut Carefully: Cut along the marked line with sharp scissors or a utility knife. Take your time to ensure a smooth and even taper.
- Finish the Edges: Smooth any rough edges with sandpaper or a leather edge beveler.
Adding Decorative Touches: Personalizing Your Belt
- Painting or Dyeing: Add a pop of color or create unique patterns with fabric paint or leather dye.
- Stamping or Embossing: Use leather stamps or an embossing tool to create intricate designs and textures.
- Adding Studs or Rivets: Attach metal accents for a touch of edginess and personality.
Safety First: Precautions to Take
- Use Sharp Tools Carefully: Handle scissors, utility knives, and other sharp objects with caution to avoid injuries.
- Protect Your Work Surface: Use a cutting mat or a sturdy surface to protect your table or countertop from scratches.
- Wear Safety Glasses (Optional): When cutting or sanding, consider wearing safety glasses to protect your eyes from debris.
- Supervise Children: If children are helping with the project, ensure they are closely supervised and using age-appropriate tools.
Belt Cutting as a Sustainable Practice
- Reducing Waste: By repurposing old or unwanted belts, you’re contributing to a more sustainable lifestyle and reducing waste.
- Extending Lifespan: Cutting and altering belts allows you to extend their lifespan and get more use out of them.
- Expressing Creativity: Upcycling belts into new creations is a fun and fulfilling way to express your creativity and showcase your unique style.
Conclusion: Empowering Your Style
Cutting a belt to size empowers you to take control of your wardrobe and achieve a polished look. With the right techniques and a little creativity, you can transform any belt into a perfect fit. Remember, practice makes perfect, so don’t be afraid to experiment and personalize your belts to reflect your unique style.
Whether you’re looking for a classic leather belt, a casual fabric belt, or a trendy braided belt, the ability to customize its length opens up a world of possibilities. So, grab your tools, unleash your creativity, and enjoy the satisfaction of creating a belt that fits you flawlessly.