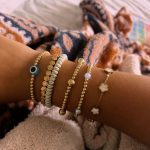
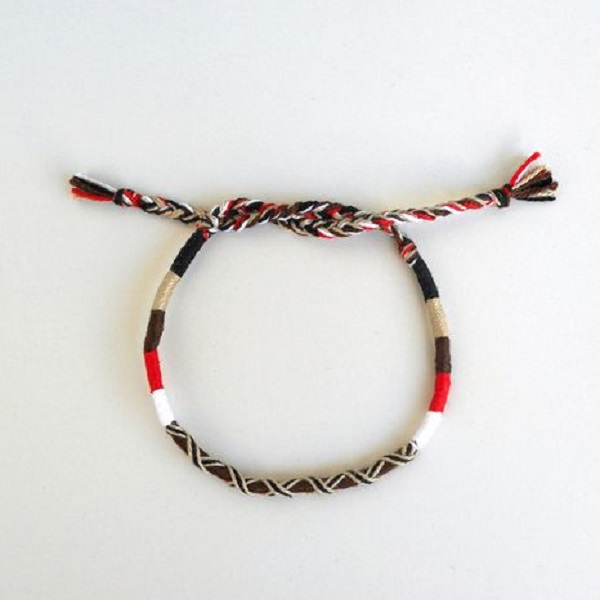
Thread-wrapped bracelets are a colorful and versatile accessory, perfect for adding a touch of personality to your style. Plus, they’re surprisingly easy to make, even if you’re a beginner! How do you make a thread wrapped bracelet? Let’s dive into the world of thread wrapping, exploring simple techniques, creative variations, and tips for crafting your own unique bracelets.
Materials You’ll Need
Threads
Choose a variety of colors and textures. Embroidery floss, yarn, or even thin strips of fabric work well.
Base
You can use a pre-made bangle, a wooden ring, or even a piece of cardboard cut into your desired shape.
Scissors
For cutting your threads.
Glue
A strong adhesive like fabric glue or hot glue (with adult supervision) is essential.
Embellishments (optional)
Beads, charms, buttons, or other decorations to personalize your bracelet.
Basic Thread Wrapping Technique
-
Secure the End: Start by tying a knot around your base, securing the end of your chosen thread. Dab a bit of glue on the knot for extra security.
-
Wrap and Overlap: Begin wrapping the thread tightly around the base, overlapping each previous wrap slightly. Keep the tension consistent to create a smooth, even surface.
-
Continue Wrapping: Keep wrapping until you reach the desired thickness. Remember, the more you wrap, the thicker your bracelet will become.
-
Secure the End: When you’ve reached your desired length, tie another knot to secure the end. Apply a dab of glue for extra hold.
-
Trim the Excess: Carefully trim any loose ends with scissors.
Adding Variety and Creativity
Now that you’ve mastered the basics, let’s explore some fun ways to personalize your thread bracelets:
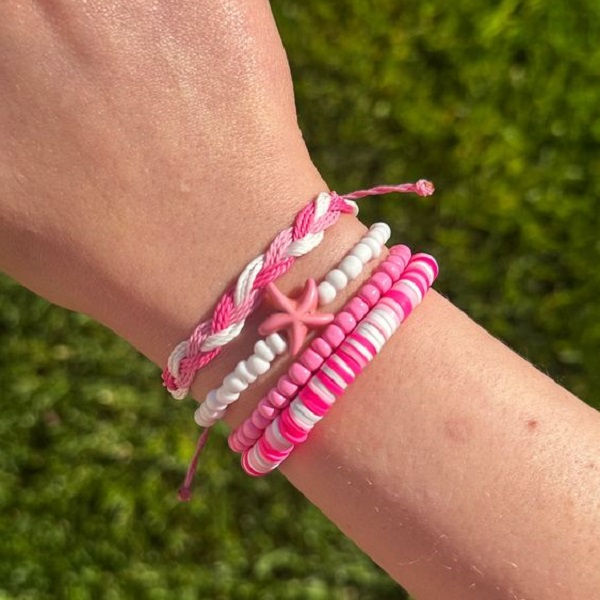
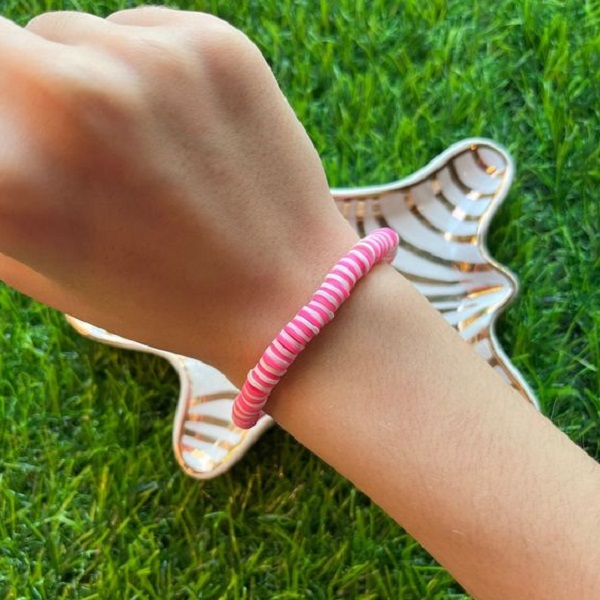
- Color Combinations: Experiment with different color combinations. Try contrasting colors, ombre effects, or even patterns.
- Texture Play: Mix and match different thread textures. Combine smooth embroidery floss with fuzzy yarn or even add a ribbon for a unique look.
- Embellishments: Glue on beads, charms, buttons, or other decorations to create a one-of-a-kind bracelet.
- Multiple Strands: Instead of wrapping with a single thread, try using two or three strands at once for a bolder look.
Tips for Thread Wrapping Success
- Start Simple: If you’re new to thread wrapping, begin with a basic design using a single color and a simple base.
- Use Enough Glue: Don’t be afraid to use glue! It’s essential for securing the ends and preventing the threads from unraveling.
- Keep Tension Even: Maintain consistent tension as you wrap to create a smooth and polished finish.
- Experiment: Don’t be afraid to try new techniques and combinations. Let your creativity flow!
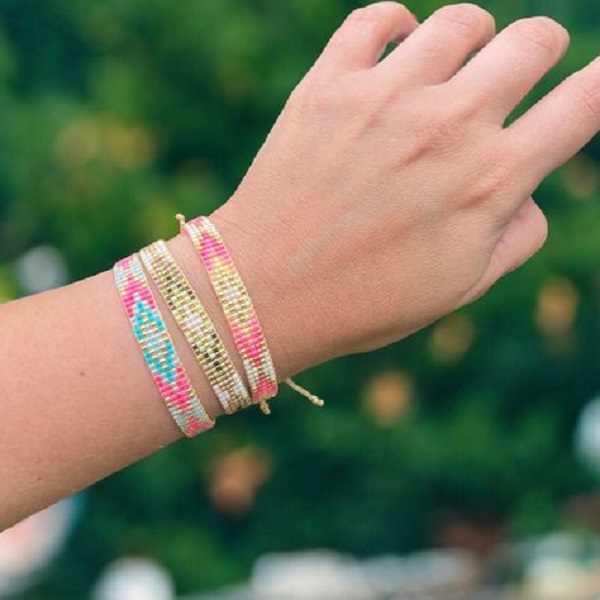
Thread Bracelet Inspiration
Here are a few ideas to spark your creativity:
- Friendship Bracelets: Create matching bracelets for you and your friends.
- Boho-Chic Bracelets: Use earthy colors, beads, and feathers for a bohemian vibe.
- Glamorous Bracelets: Add sparkly beads, rhinestones, or metallic threads for a touch of glamour.
- Personalized Bracelets: Incorporate initials, names, or meaningful symbols.
Caring for Your Thread Bracelets
To keep your thread bracelets looking their best:
- Avoid Water: Try not to get your bracelets wet, as this can cause the threads to loosen or fade.
- Store Carefully: Store your bracelets in a jewelry box or pouch to prevent them from getting tangled or damaged.
- Gentle Cleaning: If your bracelet gets dirty, gently wipe it with a damp cloth.
Thread-wrapped bracelets are a fun and easy way to express your creativity and add a pop of color to your wardrobe. With endless possibilities for customization and personalization, you can create unique pieces that reflect your style and personality. So grab your threads, unleash your imagination, and start wrapping!
Advanced Thread Wrapping Techniques
Once you’ve mastered the basic wrap, try these techniques to add flair:
- Chevron Pattern: Create a zig-zag pattern by alternating the direction of your wraps every few rounds.
- Diagonal Stripes: Wrap at a diagonal angle for a striped effect. Change colors to create multiple stripes.
- Braided Wrap: Braid three strands of thread together before wrapping them around your base for a textured look.
- Beaded Wrap: String beads onto your thread before wrapping, leaving space between each bead.
Creating Closures for Your Thread Bracelets
- Button and Loop: Glue a button to one end of the bracelet and create a loop with thread at the other end.
- Sliding Knot: Create a sliding knot closure for an adjustable fit.
- Magnetic Clasp: Attach a magnetic clasp to the ends of your bracelet for easy on and off.
- No Closure: For a simple, minimalist bracelet, you can skip the closure altogether. Just make sure the bracelet is the right size to slip on and off your wrist comfortably.
Thread Bracelet Ideas for Specific Occasions
- Birthdays: Use the birthday person’s favorite colors and add a charm with their birthstone.
- Weddings: Create elegant bracelets with pearls, crystals, or lace for the bride and bridesmaids.
- Holidays: Use festive colors and incorporate holiday-themed charms or beads.
- Sports Teams: Show your team spirit with bracelets featuring your team’s colors and logo.
Making Thread Bracelets with Kids
How do you make a thread wrapped bracelet? Thread wrapping is a fun and engaging activity for kids of all ages. Here are a few tips for crafting bracelets with little ones:
- Choose Simple Designs: Start with easy patterns and techniques.
- Use Kid-Friendly Materials: Opt for chunky yarn or embroidery floss that’s easy for small hands to handle.
- Supervise with Hot Glue: If using hot glue, ensure adult supervision to prevent burns.
- Make it Fun: Let kids choose their own colors and embellishments, and encourage them to experiment with different designs.
Selling Your Thread Bracelets
If you’ve caught the thread wrapping bug, why not turn your hobby into a business? Here are a few tips for selling your creations:
- Create an Online Shop: Set up an Etsy shop or sell your bracelets through social media platforms.
- Craft Fairs: Participate in local craft fairs to showcase your bracelets and reach new customers.
- Wholesale to Boutiques: Approach local boutiques and offer to sell your bracelets on consignment.
Beyond Bracelets: Other Thread Wrapping Projects
Once you’ve mastered thread-wrapped bracelets, explore other creative possibilities:
- Thread-Wrapped Rings: Create unique and colorful rings using the same techniques as bracelet wrapping.
- Thread-Wrapped Earrings: Wrap earrings with thread for a bohemian or eclectic look.
- Thread-Wrapped Headbands: Add a touch of personality to a plain headband with colorful thread wraps.
Troubleshooting Thread Wrapping Challenges
- Thread Fraying: If your thread is fraying, try using a thread conditioner or beeswax to smooth it out. You can also try using a different type of thread, such as nylon or silk, which are less prone to fraying.
- Uneven Wraps: If your wraps are uneven, slow down and focus on maintaining consistent tension. You can also try using a thinner base or wrapping with multiple strands of thread at once to fill in gaps.
- Glue Not Drying: If your glue is not drying properly, make sure you’re using the right type of glue for your materials. Fabric glue or hot glue are good choices for thread wrapping. If you’re using hot glue, let it cool completely before wearing your bracelet.
- Bracelet Too Loose or Tight: If your bracelet is too loose, simply untie the knot and rewrap it with more thread. If it’s too tight, you can carefully remove some of the thread. To avoid this issue, measure your wrist before you start wrapping and adjust the length accordingly.
Conclusion
How do you make a thread wrapped bracelet? Thread-wrapped bracelets offer endless opportunities for self-expression, creativity, and fun. Whether you’re making bracelets for yourself, your friends, or even to sell, this versatile craft is sure to bring you joy and satisfaction. So gather your materials, unleash your imagination, and start wrapping your way to a collection of unique and stylish accessories!